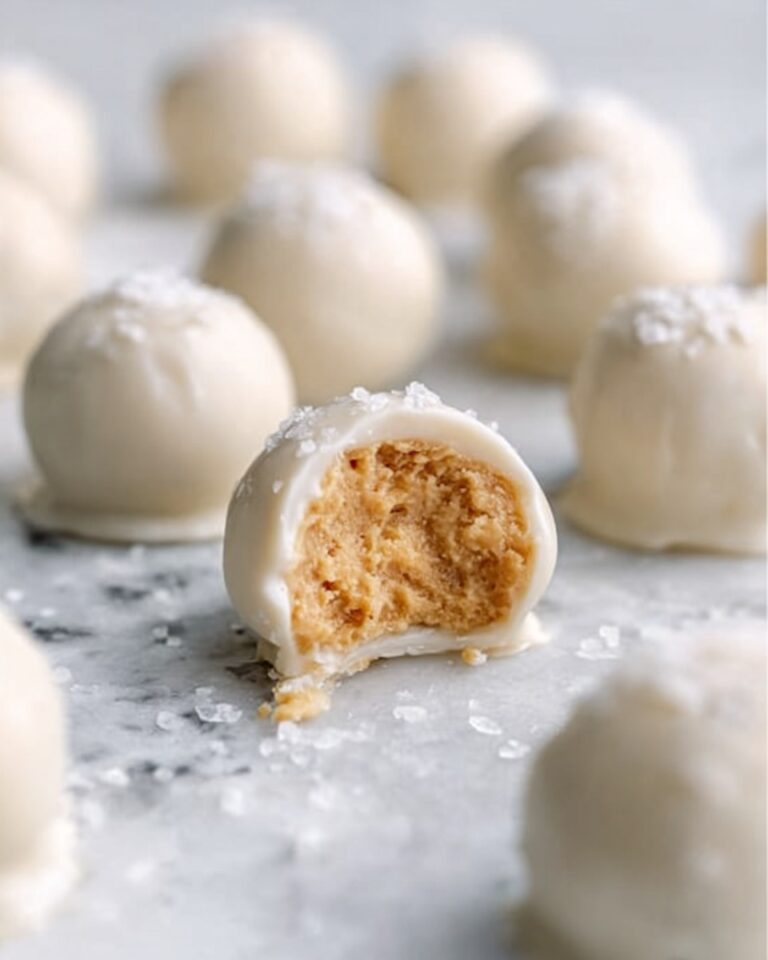
If you’ve ever wished for a quick, reliable way to elevate your desserts and drinks, then this Simple Homemade Chocolate Syrup Recipe is the answer you’ve been looking for. It’s incredibly rich, lusciously smooth, and made using everyday pantry staples like cocoa powder, sugar, and vanilla, turning ordinary treats into something indulgently delightful. Whether you drizzle it over ice cream, stir it into your morning coffee, or swirl it into a glass of cold milk, this syrup brings warmth and comfort in every luscious drop.
Ingredients You’ll Need

One of the best things about this recipe is how straightforward it is—the ingredients are simple, yet every single one plays a vital role in crafting that perfect chocolate syrup. From the deep cocoa powder providing intense chocolate flavor to the pinch of salt enhancing sweetness, each element contributes to the syrup’s rich taste, smooth texture, and beautiful color.
- Granulated sugar: Adds sweetness and helps create a glossy, thick syrup consistency.
- Unsweetened cocoa powder: The star ingredient giving the syrup its rich chocolate flavor and dark hue.
- Water: Acts as the base liquid, ensuring the syrup is pourable and smooth.
- Salt: Just a pinch to balance the sweetness and enhance the cocoa’s depth.
- Vanilla extract: Infuses the syrup with warm aromatic notes that round out the flavor beautifully.
How to Make Simple Homemade Chocolate Syrup Recipe
Step 1: Combine the dry ingredients
Start by whisking together the sugar, unsweetened cocoa powder, and salt in a small saucepan. This ensures the cocoa powder is evenly distributed with the sugar, preventing lumps and laying the foundation for a smooth syrup.
Step 2: Add water gradually
Once the dry mix is ready, slowly whisk in the water. Adding it gradually helps you achieve a seamless blend without any gritty pockets of cocoa. This is your chance to form the silky base of your chocolate syrup.
Step 3: Heat and stir to thicken
Place the saucepan over medium heat and bring the mixture to a gentle simmer. Keep whisking frequently as it cooks for 3 to 5 minutes. You’ll notice the mixture thickening slightly—this is the magic that transforms it from liquid to luscious syrup.
Step 4: Finish with vanilla
Remove the pan from heat and immediately stir in the vanilla extract. Adding it at this stage preserves those delicate vanilla aromas, making your chocolate syrup irresistibly fragrant and rich.
Step 5: Cool and store
Allow the syrup to cool completely; as it cools, it will thicken further. Once cooled, transfer it into a clean glass jar or bottle and refrigerate. Your homemade chocolate syrup is now ready to enhance any treat!
How to Serve Simple Homemade Chocolate Syrup Recipe

Garnishes
This syrup shines brightest when used as a garnish or drizzle. Try it over a scoop of creamy vanilla or coffee ice cream for a decadent dessert, or add artistic swirls atop whipped cream-topped hot chocolate or coffee drinks. It also pairs fantastically with fresh berries—pour a little syrup for that extra special touch.
Side Dishes
Don’t limit yourself to just sweets! Consider using this syrup alongside pancakes or waffles for a breakfast treat that feels special yet simple. It’s also fantastic when paired with fluffy French toast or dolloped on a stack of warm crepes, turning everyday mornings into a cozy delight.
Creative Ways to Present
Have fun with presentation by layering the syrup between ice cream sandwiches or drizzling it inside a clear glass before pouring in milk to make homemade chocolate milk. You can also swirl it into yogurt or use it as a dip for fresh fruit, inviting guests to enjoy it in new and unexpected ways.
Make Ahead and Storage
Storing Leftovers
Store any leftover syrup in an airtight container or jar in the refrigerator. It keeps beautifully for up to a month, making it easy to have a delicious chocolate boost handy whenever you want. Just give it a quick stir or shake before using, as natural separation may occur.
Freezing
While this syrup stores well in the fridge, freezing isn’t recommended because the texture can change upon thawing. To keep it at its best, enjoy it fresh within the refrigeration period to preserve its smooth consistency.
Reheating
If your syrup has thickened too much in the refrigerator, simply warm it gently in a small saucepan over low heat or microwave briefly. Stir during reheating to regain its shiny, pourable goodness before serving again.
FAQs
Can I use brown sugar instead of granulated sugar?
You can substitute brown sugar, but it will add a richer, slightly caramel flavor and may darken the syrup. It’s a delicious variation but expect a slightly different texture and taste.
Is it possible to make this syrup vegan?
Absolutely! This recipe is naturally vegan since it uses only cocoa, sugar, water, salt, and vanilla extract. Just ensure your vanilla extract is pure and ethanol-based if you want to be certain.
Can I make this sugar-free?
While the recipe relies on sugar for texture and sweetness, you could experiment with sugar substitutes like erythritol or stevia blends. Just keep in mind the texture might vary, and you’ll want to test small batches first.
How long does this syrup last in the fridge?
Stored properly in an airtight jar or bottle, the syrup remains fresh for up to one month. Always check for any changes in smell or appearance before use.
Can I add other flavors to this syrup?
Definitely! Feel free to infuse your syrup with a hint of cinnamon, espresso powder for mocha notes, or even a splash of peppermint extract for a holiday twist. Add these during the last step of cooking to keep flavors vibrant.
Final Thoughts
Making your own chocolate syrup at home is not only satisfying but transforms everyday treats into extraordinary experiences. This Simple Homemade Chocolate Syrup Recipe is a total game-changer—easy, quick, and incredibly versatile. I hope you have as much fun making and enjoying it as I do sharing it with friends and family. Dive in and let that rich, chocolatey goodness light up your kitchen!
Print
Simple Homemade Chocolate Syrup Recipe
- Total Time: 10 minutes
- Yield: About 1½ cups
- Diet: Vegetarian
Description
This Simple Homemade Chocolate Syrup is a rich and smooth sauce made from pantry staples like cocoa powder, sugar, and vanilla. Ideal for enhancing chocolate milk, coffee, milkshakes, pancakes, waffles, ice cream, and various homemade desserts, this syrup combines ease of preparation with delicious flavor.
Ingredients
Chocolate Syrup Ingredients
- 1 cup granulated sugar
- ½ cup unsweetened cocoa powder
- 1 cup water
- ¼ teaspoon salt
- 1 teaspoon vanilla extract
Instructions
- Combine dry ingredients: In a small saucepan, whisk together the granulated sugar, unsweetened cocoa powder, and salt until well combined.
- Add water gradually: Slowly whisk in the water, ensuring the mixture becomes smooth without any lumps.
- Simmer the mixture: Place the saucepan over medium heat and bring it to a gentle simmer, whisking frequently to prevent burning and to blend the ingredients fully.
- Thicken the syrup: Allow the mixture to simmer gently for 3 to 5 minutes until it thickens slightly but remains pourable.
- Finish with vanilla: Remove the saucepan from heat, then stir in the vanilla extract thoroughly to enhance the flavor.
- Cool down: Let the syrup cool completely at room temperature—it will continue to thicken as it cools down.
- Store properly: Transfer the cooled syrup into a clean glass jar or bottle and refrigerate until ready to use.
Notes
- Store the syrup in the refrigerator for up to 1 month to maintain freshness.
- If separation occurs, shake or stir the syrup before each use to recombine.
- Use this versatile syrup to enhance chocolate milk, coffee, milkshakes, pancakes, waffles, or as a delicious drizzle over ice cream.
- Prep Time: 5 minutes
- Cook Time: 5 minutes
- Category: Condiment
- Method: Stovetop
- Cuisine: American