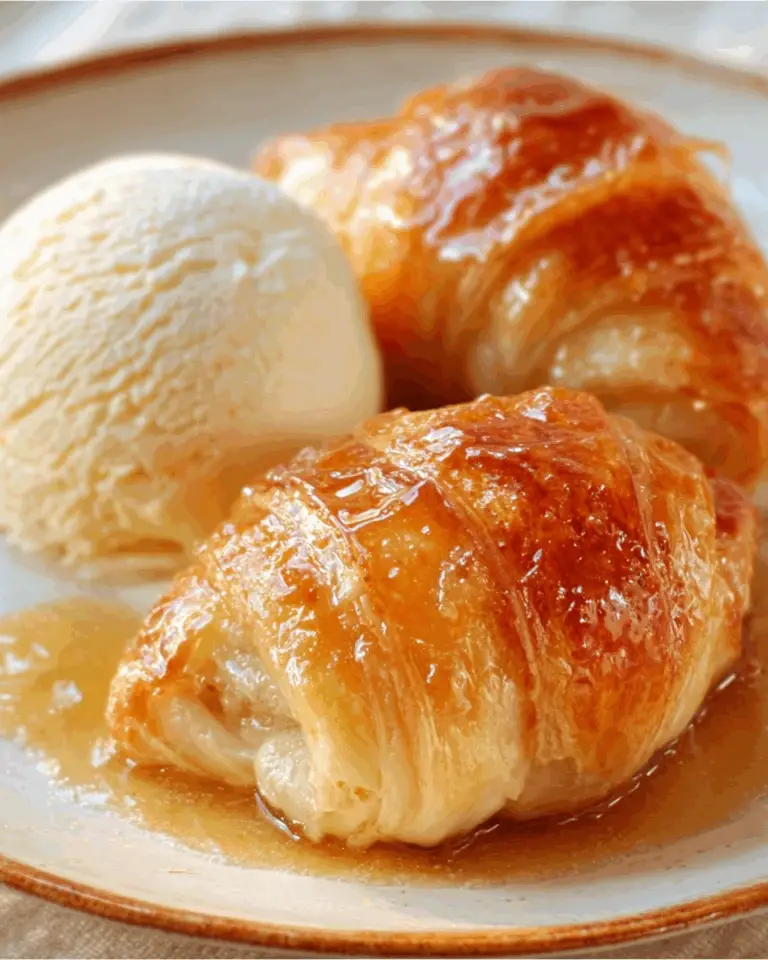
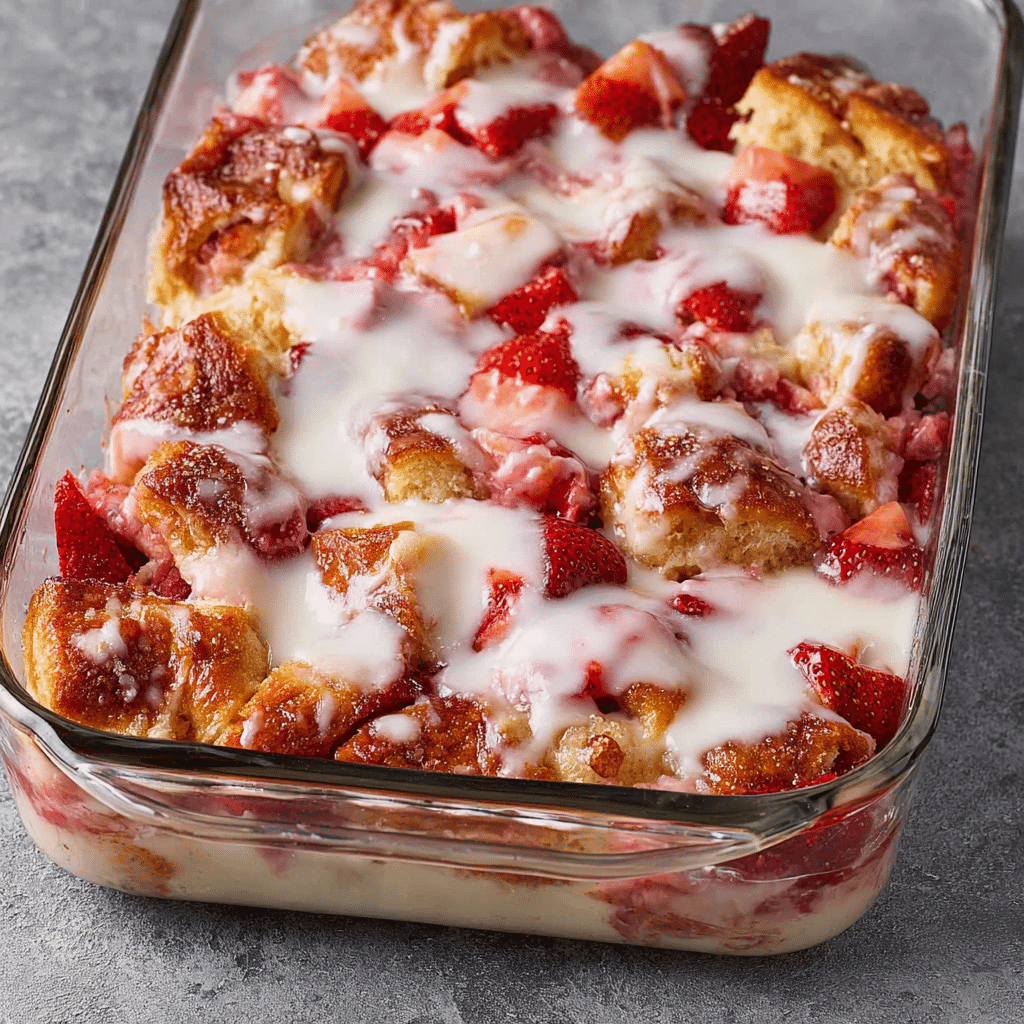
There’s something utterly magical about the Strawberry Bubble Up — a dessert that transforms humble ingredients into a show-stopping, bubbling treat. Every bite gives you the playful chew of biscuit dough, the juicy burst of strawberries, and a sweet, creamy glaze that brings it all together. Whether you’re sharing this delight at a family gathering or savoring a piece with your coffee, it’s sure to earn a spot among your most-requested recipes.
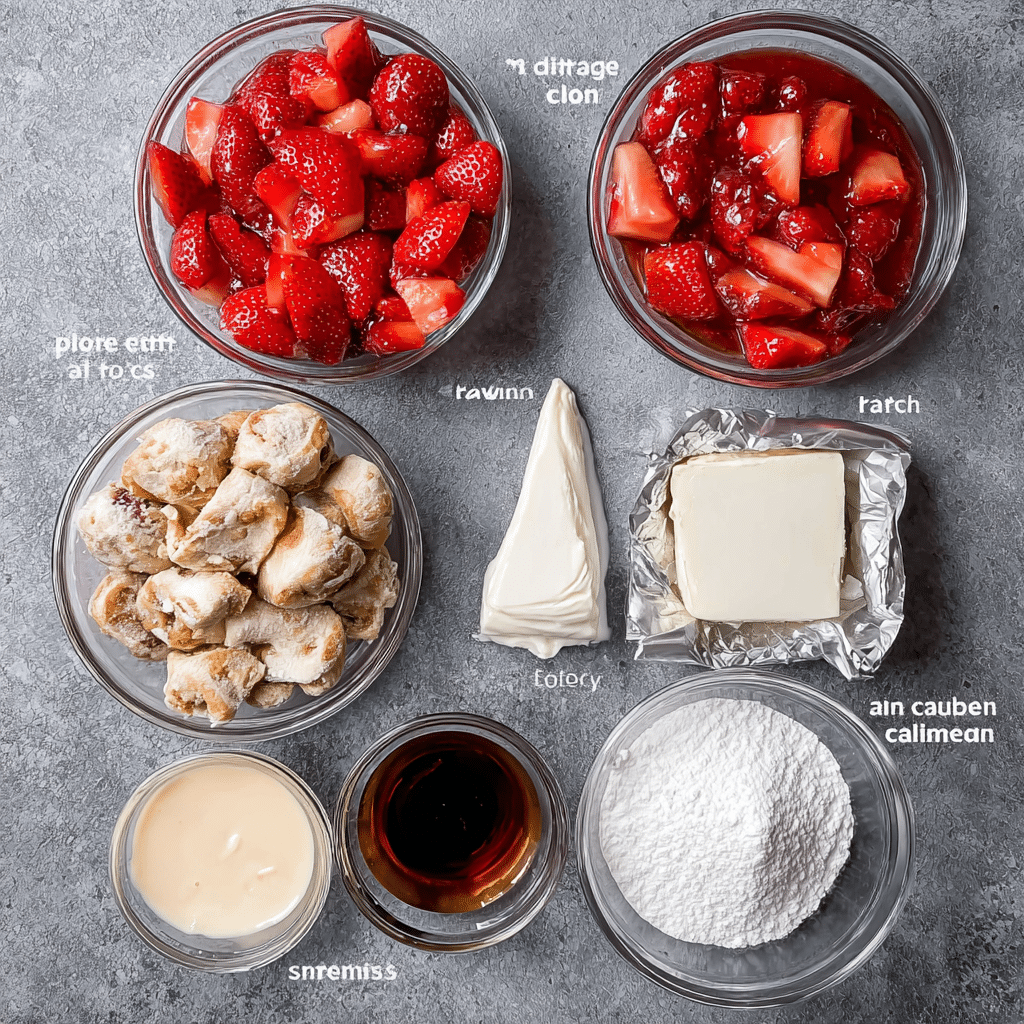
Ingredients You’ll Need
Gathering just a handful of staple ingredients is all it takes to make this Strawberry Bubble Up shine! Each component plays an important role, from the biscuits that puff up and bake to golden perfection, to the strawberries that turn syrupy and fragrant. Here’s why every ingredient matters:
- Refrigerated biscuits: These are the quick fix for that fluffy, doughy base — just cut them up and you’re ready to go!
- Fresh strawberries: Their natural tartness and color create that signature berry burst throughout each bite.
- Sugar: Sweetens up the strawberries and builds a lightly caramelized, irresistible syrup.
- Cornstarch: This thickens the strawberry juices, so you get a luscious filling and no runny puddles.
- Vanilla: A splash gives warmth and depth, making the whole kitchen smell heavenly.
- Powdered sugar (for glaze): Dissolves beautifully to make the creamiest drizzle over your finished Strawberry Bubble Up.
- Milk (for glaze): Just a little loosens the powdered sugar for that perfectly pourable texture.
How to Make Strawberry Bubble Up
Step 1: Prep the Strawberries
Begin by tossing your sliced strawberries with the sugar, cornstarch, and vanilla in a big mixing bowl. The sugar draws out the berries’ juices, the cornstarch will thicken everything as it bakes, and the vanilla just makes the fruit sing! Set them aside so the flavors can mingle while you work on the next step.
Step 2: Chop the Biscuits
Open your biscuit cans and cut each biscuit into bite-sized pieces. You can use kitchen scissors or a sharp knife; aim for about six pieces per biscuit. These little nuggets are what create the “bubble up” effect, puffing and baking into golden clouds surrounded by sweet strawberries.
Step 3: Layer and Assemble
Lightly grease an 8-inch baking dish, then scatter half of the biscuit pieces over the bottom. Spoon half of the strawberry mixture over the biscuits, then repeat with the remaining biscuits and berries. This layering ensures every spoonful is a perfect balance of dough and jammy fruit.
Step 4: Bake Until Bubbling
Slide the dish into a preheated 350°F oven and bake for 35 to 40 minutes. You’ll know it’s ready when the top is deep golden brown and fruity juices are bubbling along the edges. If it starts browning too quickly, a loose piece of foil over the top will protect those precious bubbles.
Step 5: Make and Drizzle the Glaze
Whisk together the powdered sugar and milk until smooth and silky. Wait a few minutes after the Strawberry Bubble Up comes out of the oven, then drizzle the glaze generously over the top. The warm dessert soaks it up just a bit, giving you a gooey and glossy finish that’s impossible to resist!
How to Serve Strawberry Bubble Up
Garnishes
Give your Strawberry Bubble Up the royal treatment by adding a flourish of fresh strawberry slices or a dusting of powdered sugar on top. If you’re feeling extra-fancy, a dollop of whipped cream or a few mint leaves offer a pop of color and freshness that makes each plate look bakery-shop worthy.
Side Dishes
Bubbles of warm fruit and biscuit beg to be paired with cool ice cream — vanilla or strawberry both work wonders. For a lighter touch, try a scoop of Greek yogurt or a serving of fresh berries on the side. Coffee or even a hot herbal tea are perfect companions for this just-sweet-enough treat.
Creative Ways to Present
While this Strawberry Bubble Up looks gorgeous straight from the baking dish, you can also serve it in individual ramekins for cute, single-serve portions. Mason jars make a fun option for picnics or parties! Top each portion with its own swirl of glaze right before serving to keep the presentation playful and inviting.
Make Ahead and Storage
Storing Leftovers
If (and that’s a big “if”) there are leftovers, simply transfer the cooled Strawberry Bubble Up to an airtight container. It’ll keep well in the refrigerator for up to three days. The flavors meld even more, making every spoonful the next day extra delightful.
Freezing
Want to save some for later? You can freeze Strawberry Bubble Up! Cut into individual portions, wrap tightly, and place in freezer-safe containers. Thaw overnight in the fridge for a quick, homemade dessert anytime a craving strikes.
Reheating
To recapture that fresh-from-the-oven magic, reheat leftovers in a warm oven (about 300°F) just until heated through. For a quicker fix, individual pieces can be microwaved on medium power for 20 to 30 seconds. A fresh drizzle of glaze after warming makes it taste freshly baked again!
FAQs
Can I use frozen strawberries in Strawberry Bubble Up?
Absolutely! If using frozen strawberries, there’s no need to thaw — just toss with the sugar, cornstarch, and vanilla as usual. You might need a few extra minutes of baking time if the filling seems extra juicy.
What type of refrigerated biscuits work best?
Any classic buttermilk biscuit dough works wonderfully, but you can experiment with flaky or homestyle varieties too. Just avoid any that have savory herbs or cheese for the best sweet flavor profile.
How can I make this dessert dairy free?
Most refrigerated biscuits contain dairy, so look for plant-based versions if you want to make your Strawberry Bubble Up completely dairy free. For the glaze, simply use a non-dairy milk like almond or oat!
Can I add other fruits to the recipe?
Absolutely — blueberries, raspberries, or even sliced peaches pair beautifully with strawberries. Just keep the total volume around 2 cups and follow the rest of the recipe as written.
Why is it called “Bubble Up?”
The name comes from the way the biscuit dough and bubbly fruit filling mingle and rise during baking, creating puffy, golden “bubbles” of dough surrounded by syrupy fruit goodness. It’s as fun to eat as it is to say!
Final Thoughts
If you’re looking for a dessert that feels as joyful to make as it does to eat, you can’t go wrong with Strawberry Bubble Up. Bubbly, bright, and full of sweet berry flavor, it’s the kind of recipe friends beg you to share. Don’t be surprised if it becomes a new family tradition — you’ll definitely want to make it again and again!
Print
Strawberry Bubble Up Recipe
- Total Time: 50m
- Yield: 8 servings
- Diet: Vegetarian
Description
Strawberry Bubble Up is a delightful baked dessert that combines tender biscuit dough with juicy strawberries and a sweet glaze for a comforting treat.
Ingredients
Biscuit Dough:
- 2 cans refrigerated biscuits, cut into pieces
Strawberry Filling:
- 2 cups strawberries, sliced
- 1/2 cup sugar
- 1 tbsp cornstarch
- 1 tsp vanilla
Glaze:
- 1 cup powdered sugar
- 2 tbsp milk
Instructions
- Toss the strawberries: Combine sliced strawberries with sugar, cornstarch, and vanilla.
- Layer the biscuits and strawberries: Arrange the biscuit pieces and strawberry mixture in a baking dish.
- Bake: Bake at 350°F for 35–40 minutes until golden brown.
- Glaze: Prepare the glaze by mixing powdered sugar and milk. Drizzle over the baked dish before serving.
- Prep Time: 10m
- Cook Time: 40m
- Category: Dessert
- Method: Baking
- Cuisine: American
Nutrition
- Serving Size: 1 serving
- Calories: Approx. 280
- Sugar: Approx. 20g
- Sodium: Approx. 320mg
- Fat: Approx. 7g
- Saturated Fat: Approx. 2g
- Unsaturated Fat: Approx. 5g
- Trans Fat: 0g
- Carbohydrates: Approx. 50g
- Fiber: Approx. 2g
- Protein: Approx. 3g
- Cholesterol: Approx. 0mg

