
If you have ever wished for that perfect soft, fluffy flatbread to scoop up your favorite hummus or wrap your savory fillings in, this Homemade Pita Bread Recipe is about to become your new best friend. With golden pockets that magically puff up during baking, these pitas are not only gorgeous but incredibly versatile, effortlessly elevating everything from Mediterranean spreads to simple sandwiches. Trust me, once you make these from scratch, store-bought pita will be a thing of the past.
Ingredients You’ll Need
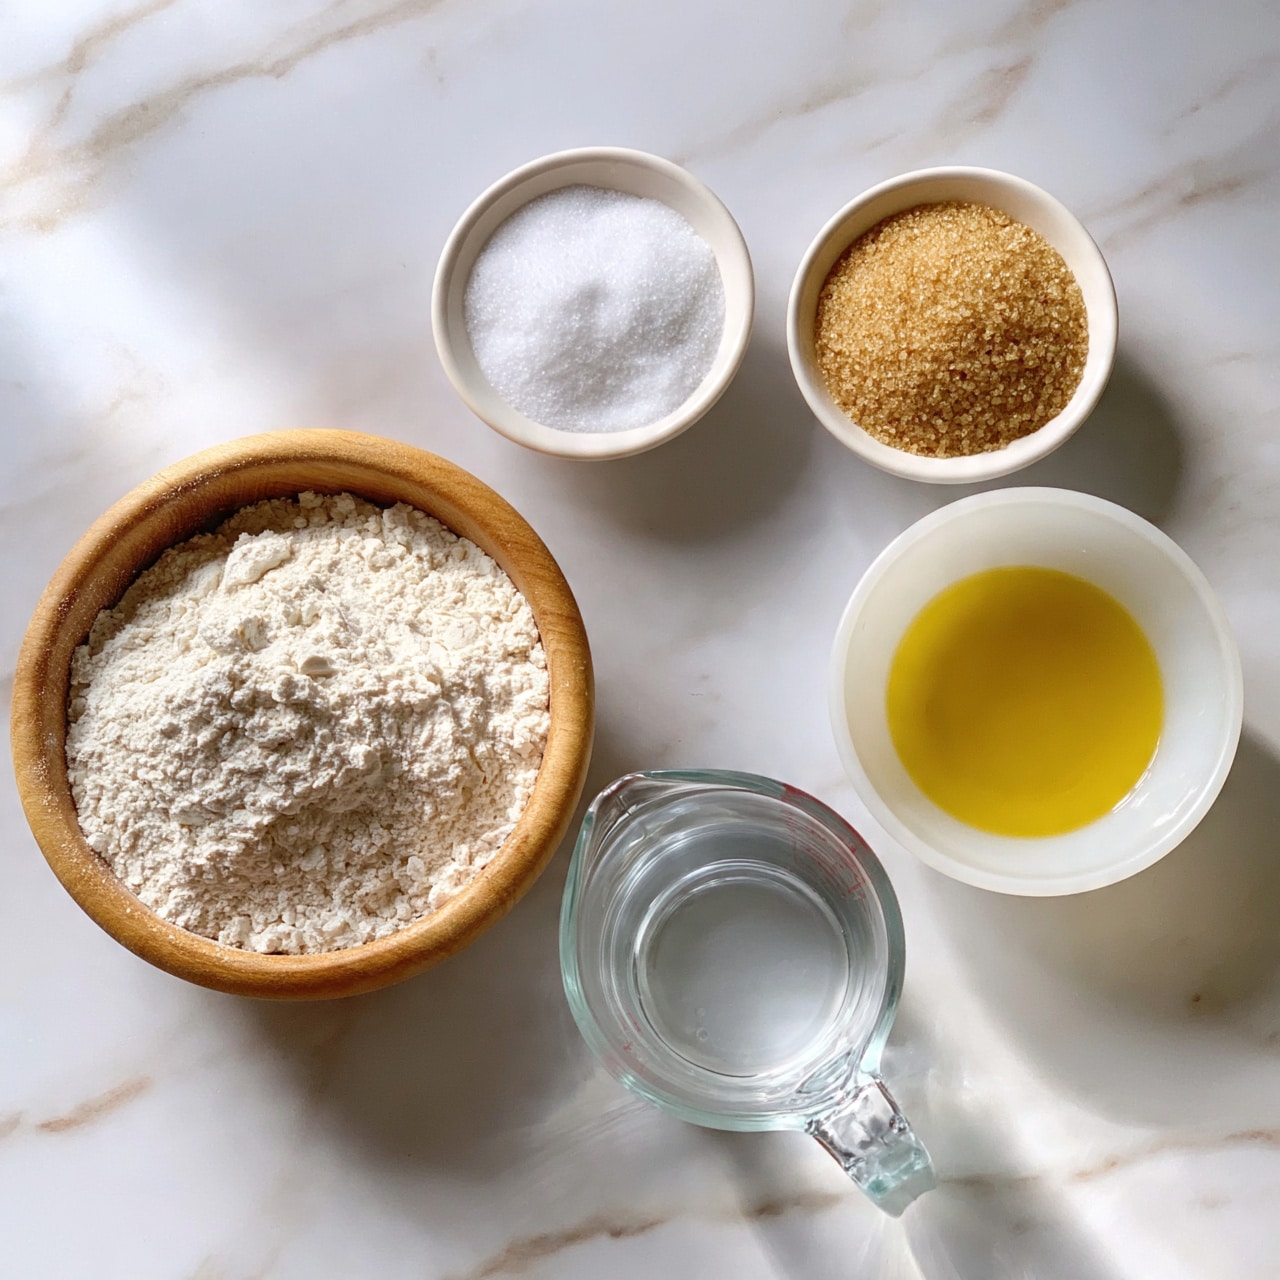
It’s amazing how just a handful of everyday ingredients can come together to create such an irresistible bread. Each item plays a vital role—from yeast that helps the dough rise and develop air pockets, to olive oil that enriches the texture and adds subtle flavor.
- 3 cups all-purpose flour: The foundation of the dough, providing structure and softness.
- 2¼ tsp active dry yeast: This is the magical leavening agent that helps the pita puff up and form its signature pocket.
- 1 tsp sugar: Feeds the yeast and helps kickstart its bubbly activity.
- 1 tsp salt: Balances the flavors and strengthens the dough.
- 1 cup warm water: Activates the yeast and hydrates the flour for a pliable dough.
- 2 tbsp olive oil: Adds richness, tenderness, and a hint of fruity aroma.
How to Make Homemade Pita Bread Recipe
Step 1: Activate the Yeast
Start by stirring together the warm water, sugar, and yeast in a large bowl. Let this mixture sit untouched for about 5 to 10 minutes until it becomes foamy and bubbly on top, signaling that your yeast is happily alive and ready to work its magic.
Step 2: Combine the Ingredients
Once your yeast is active, stir in the olive oil, and then gradually add the flour and salt. Mix until a rough dough forms, soft but not sticky. This combination starts the journey of transformation from simple ingredients to fluffy bread.
Step 3: Knead to Perfection
Turn your dough onto a lightly floured surface and knead for 8 to 10 minutes. This process is essential to develop the gluten that will make your pita stretchy and elastic, ensuring they puff up beautifully in the oven.
Step 4: Let the Dough Rise
Place the dough in a lightly greased bowl, cover it with a clean kitchen towel or plastic wrap, and set it in a warm spot. It needs about an hour to double in size, becoming light and airy—this rise is what gives the pita its tender interior.
Step 5: Shape the Pita Rounds
After the dough has risen, punch it down gently and divide it into 8 equal portions. Roll each piece into a 6-inch circle, which will transform into that iconic pocket once baked. Let these rounds rest for 10 minutes so the gluten can relax, making them easier to puff up and not spring back during baking.
Step 6: Bake at High Heat
Preheat your oven to 475°F (245°C) with a baking stone or an inverted baking sheet inside—it needs to be very hot. Bake the pita rounds directly on the heated surface for 3 to 5 minutes. You’ll know they’re done when they puff up impressively and take on a light golden tint.
Step 7: Keep the Pita Soft
Once out of the oven, cover your pita breads immediately with a clean kitchen towel. This traps steam, keeping them soft and flexible—perfect for stuffing or dipping!
How to Serve Homemade Pita Bread Recipe

Garnishes
While this Homemade Pita Bread Recipe shines on its own, you can sprinkle some za’atar, sumac, or sesame seeds on top before baking to add an extra burst of flavor and a little crunch. Fresh herbs like parsley or mint make a gorgeous garnish when serving.
Side Dishes
Pita pairs beautifully with classic Mediterranean accompaniments like creamy hummus, smoky baba ganoush, or tangy tzatziki. Don’t forget roasted vegetables, fresh salads, and grilled meats when building a complete and satisfying meal around your freshly baked pita.
Creative Ways to Present
Use your homemade pita bread as mini pizza bases, cutting them in half to create pockets for falafel, grilled chicken, or vibrant veggie fillings. They’re also perfect for dipping, turning any party spread instantly more appealing and inviting for guests to dig in.
Make Ahead and Storage
Storing Leftovers
If you have any leftover pita, store them in an airtight container at room temperature for up to 3 days. Keeping them sealed helps maintain softness and prevents them from drying out or becoming tough.
Freezing
For longer storage, freeze your pita breads in a ziplock bag or a freezer-safe container. They keep well for up to 2 months. Just make sure to separate each pita with parchment paper if stacking, so they don’t stick together.
Reheating
To enjoy your Homemade Pita Bread Recipe fresh again, reheat pita either in a hot oven at 350°F for 5 minutes or on a hot skillet for a minute or two per side. Avoid microwaving if possible, as it makes the bread chewy instead of soft and fluffy.
FAQs
Can I use whole wheat flour instead of all-purpose flour?
Absolutely! You can substitute whole wheat flour for all or part of the flour; however, keep in mind that whole wheat may produce a denser pita. Adjust with a little extra water for a softer dough.
Why didn’t my pita puff up during baking?
High oven temperature is crucial for puffing. Also, make sure the dough rounds rest before baking, and the dough is kneaded well to develop enough gluten. If your oven isn’t hot enough or the dough is too cold, the pocket may not form properly.
Can I make pita bread without a baking stone?
Yes! An inverted heavy baking sheet or cast iron skillet preheated in the oven works well. The goal is to have a hot, sturdy surface to mimic the effect of a stone.
How long does the dough need to rise?
Typically, about 1 hour or until the dough doubles in size. If your kitchen is cooler, it may take longer. Patience here yields nicely airy and soft pita.
Is this Homemade Pita Bread Recipe vegan?
Yes, this recipe contains no animal products, making it perfectly vegan and a great choice for those following dairy-free or vegetarian diets.
Final Thoughts
I genuinely hope this Homemade Pita Bread Recipe inspires you to roll up your sleeves and bake some of your own. There’s something deeply satisfying about pulling warm, pillow-soft pita pockets from your oven that no store-bought bread can replace. Whether you’re serving a cozy family dinner or entertaining friends, these pitas will add a delicious, heartfelt touch every time.
Print
Homemade Pita Bread Recipe
- Total Time: 1 hour 35 minutes
- Yield: 8 pita breads
- Diet: Vegan, Vegetarian, Dairy-Free
Description
This Homemade Pita Bread recipe yields soft, fluffy, and perfectly pocketed flatbreads that are ideal for sandwiches, wraps, dips, or serving alongside your favorite Mediterranean dishes. Made from simple ingredients and baked at high heat, these pita breads puff up to create an airy pocket perfect for stuffing.
Ingredients
Dough Ingredients
- 3 cups all-purpose flour
- 2¼ tsp active dry yeast
- 1 tsp sugar
- 1 tsp salt
- 1 cup warm water
- 2 tbsp olive oil
Instructions
- Activate Yeast: In a large bowl, combine warm water, sugar, and yeast. Let the mixture sit for 5–10 minutes until it becomes foamy, indicating the yeast is active and ready.
- Mix Dough: Add olive oil, flour, and salt to the yeast mixture. Stir until a rough dough forms.
- Knead Dough: Transfer the dough to a lightly floured surface and knead for 8–10 minutes until it becomes smooth and elastic.
- First Rise: Place the kneaded dough in a lightly greased bowl. Cover with a clean cloth or plastic wrap and let it rise in a warm place for 1 hour, or until it doubles in size.
- Divide and Shape: After rising, punch down the dough and divide it into 8 equal pieces. Roll each piece into a 6-inch circle on a floured surface.
- Rest Rounds: Let the rolled-out dough rounds rest for 10 minutes to relax the gluten, which helps in puffing during baking.
- Preheat Oven: Preheat the oven to 475°F (245°C). Place a baking stone or a heavy baking sheet inside the oven to heat up thoroughly.
- Bake Pitas: Place the dough circles on the preheated baking surface and bake for 3–5 minutes, or until the pitas puff up and turn lightly golden brown.
- Keep Soft: Remove the baked pitas from the oven and immediately cover them with a clean kitchen towel to keep them soft and prevent drying.
- Serve or Store: Serve the pitas warm for best flavor and texture. Alternatively, let them cool completely before storing in an airtight container.
Notes
- High heat is essential for creating the signature pita pocket.
- Store homemade pita bread in an airtight container for up to 3 days.
- Freeze pita bread for up to 2 months and reheat before serving to maintain freshness.
- Prep Time: 20 minutes
- Cook Time: 5 minutes
- Category: Bread
- Method: Baking
- Cuisine: Mediterranean


