If you’re on the hunt for a breakfast or snack that feels indulgent yet fuels you with goodness, then the Creamy Chia Seed Pudding with Vanilla and Toppings Recipe is about to become your new go-to. This dreamy pudding blends the tiny powerhouse chia seeds with smooth milk and fragrant vanilla, resulting in a luscious texture that’s utterly comforting. Plus, the toppings add delightful pops of flavor and crunch, making every spoonful a little celebration of health and taste. Whether you’re a chia seed lover or new to this tiny seed wonder, this recipe has everything you need to start your day on a bright and tasty note.
Ingredients You’ll Need
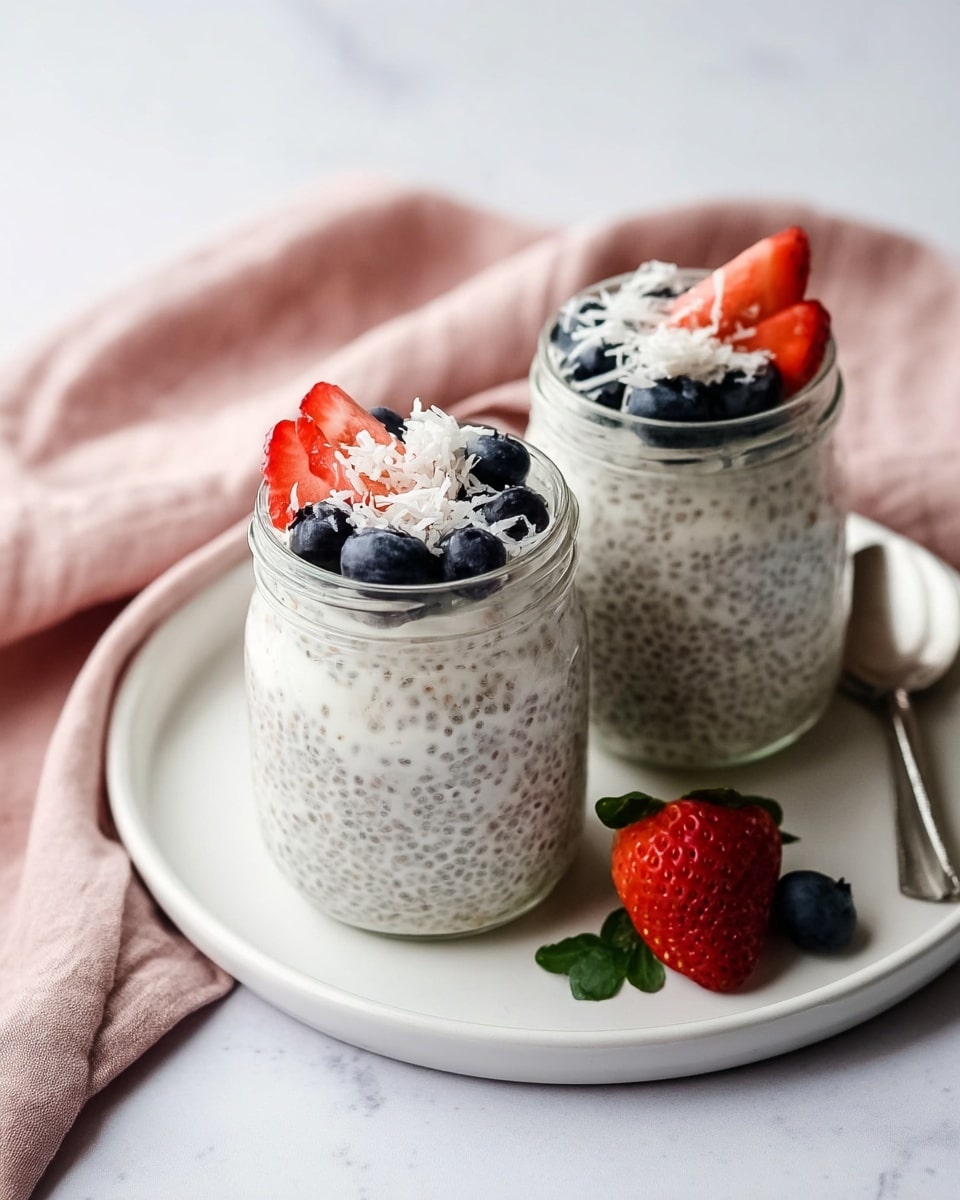
With just a handful of ingredients, this recipe proves that simplicity can be incredibly delicious. Each component plays a key role: the chia seeds create that thick, creamy texture; the milk offers a silky base; vanilla adds warmth and aroma; and the sweetener balances everything with a natural touch. Let’s dive into the essentials that make this pudding so special.
- 3 tbsp chia seeds: These little seeds swell up to form a gel, creating the pudding’s signature creamy texture and packing a nutritious punch of fiber and omega-3s.
- 1 cup milk (dairy or non-dairy): Choose your favorite milk—coconut milk lends a rich, dessert-like creaminess, while almond or oat milk keeps things light and mild.
- 1 tsp vanilla extract: Pure vanilla adds a gentle, sweet aroma that makes every bite feel comforting and special.
- 1 tbsp honey or maple syrup: A natural sweetener that perfectly balances the subtle earthiness of chia seeds, adjust to your desired sweetness.
- Toppings: Fresh berries, crunchy nuts, shredded coconut, or granola bring texture, flavor, and a fun finishing touch to your pudding experience.
How to Make Creamy Chia Seed Pudding with Vanilla and Toppings Recipe
Step 1: Combine Your Base Ingredients
In a jar or bowl, mix the chia seeds, milk, vanilla extract, and your chosen sweetener. Stir it well to ensure the chia seeds don’t clump together. This simple mix is about the balance of flavor and texture, creating the canvas for your pudding masterpiece.
Step 2: Let the Seeds Soak
Let the mixture sit for about five minutes, then give it another good stir to break up any early clumps forming. This ensures the pudding sets evenly and the chia seeds swell uniformly into that creamy, gel-like consistency everyone loves.
Step 3: Chill and Set
Cover your container and place it in the refrigerator for at least two hours, though overnight is best. This chilling time allows the chia seeds to fully absorb the liquid, transforming your simple ingredients into a velvety pudding that’s ready to impress.
Step 4: Stir and Add Toppings
Before serving, stir the pudding again to refresh its creamy texture. Then the fun part: pile on your favorite toppings. Whether it’s juicy berries to brighten the dish, crunchy nuts for texture, or a sprinkle of granola for a touch of sweetness, toppings make this pudding uniquely yours.
How to Serve Creamy Chia Seed Pudding with Vanilla and Toppings Recipe
Garnishes
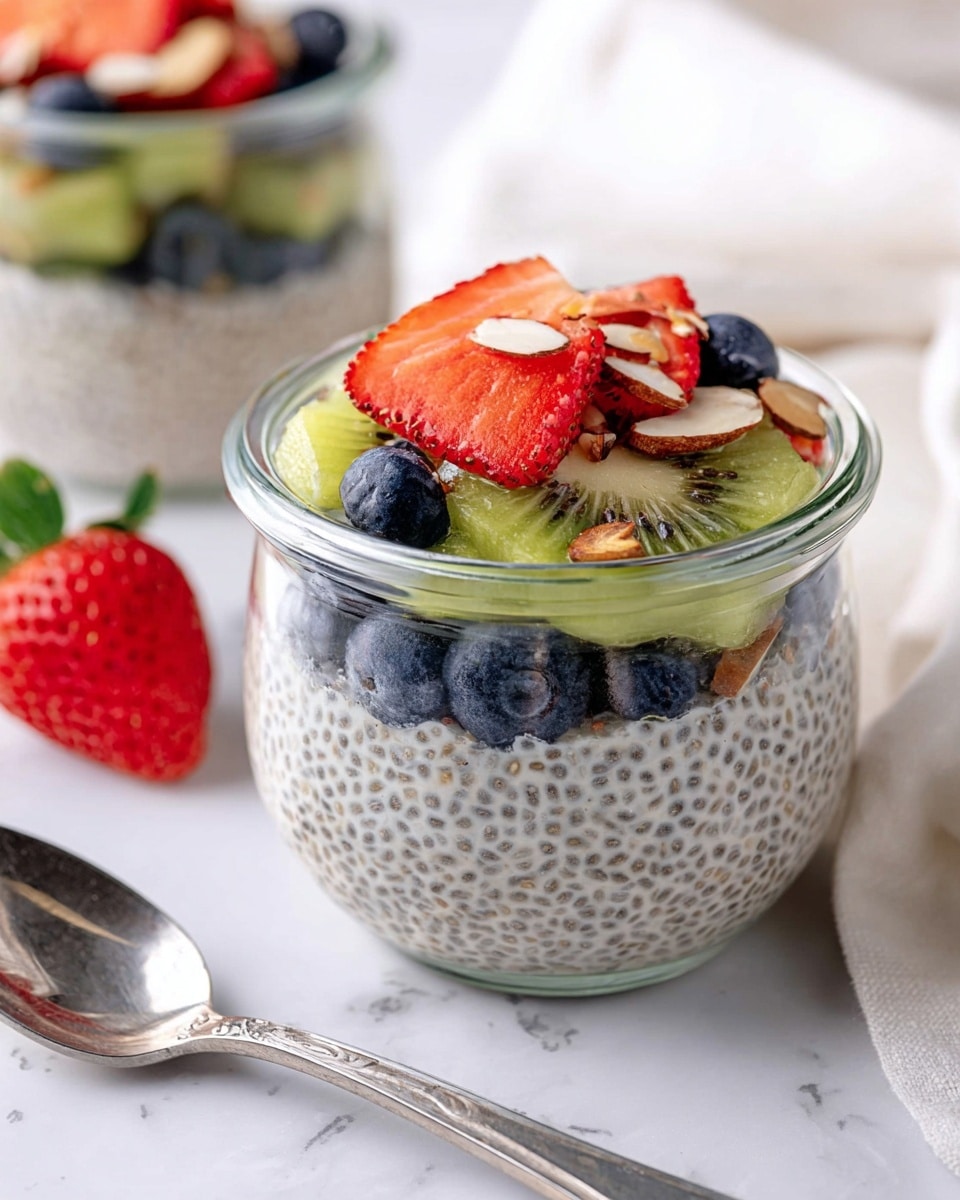
Garnishing isn’t just about looks—it’s a way to layer flavors and textures that elevate the pudding. Think fresh raspberries or blueberries adding a burst of tartness, toasted coconut flakes for a nutty crunch, or chopped almonds to bring a satisfying bite. A drizzle of extra honey or maple syrup can also add a lovely sheen and hint of sweetness right before serving.
Side Dishes
While this pudding stands well on its own, pairing it with light side dishes can round out your meal beautifully. Fresh fruit salad, a handful of mixed nuts, or a crisp, lightly buttered toast make excellent companions, transforming breakfast or snack time into a more luxurious experience without fuss.
Creative Ways to Present
Feeling fancy? Serve your pudding in clear glass jars or small bowls layered with fruit compotes for a parfait effect. You can also swirl in a spoonful of nut butter or sprinkle chia seeds on top for texture contrast. Personalizing presentation makes eating this pudding even more joyful and keeps your breakfast routine exciting.
Make Ahead and Storage
Storing Leftovers
This pudding keeps wonderfully in the fridge for up to three days when stored in an airtight container. It’s perfect for meal prep since the flavors tend to deepen, and the texture remains creamy without becoming soggy. Just give it a quick stir before serving to refresh the texture.
Freezing
While freezing chia seed pudding isn’t ideal because the texture may change post-thaw, you can freeze it in portion-sized containers for up to a month if needed. Thaw overnight in the refrigerator and stir well before enjoying. Adding fresh toppings after thawing is recommended to keep things lively.
Reheating
This pudding is best enjoyed cold or at room temperature, so reheating isn’t necessary. However, if you prefer a warm breakfast, gently warm your milk before mixing with chia seeds and let it soak as usual. Just be sure not to heat the pudding after it’s set, as that can affect the texture.
FAQs
Can I use any type of milk for this pudding?
Absolutely! You can use dairy milk or any plant-based milk like almond, coconut, soy, or oat milk. Each will give a slightly different flavor and creaminess, so feel free to experiment based on your preferences.
How long does it take for the pudding to set?
It usually takes at least two hours in the fridge for the chia seeds to fully absorb the liquid and create that pudding-like texture. Overnight soaking gives the best, most consistent results.
Is the pudding suitable for a vegan diet?
Yes! Using plant-based milk and maple syrup ensures the pudding is entirely vegan. It’s a great choice for a nutrient-packed vegan breakfast or snack.
Can I prepare this pudding in larger batches?
Definitely! This recipe scales up easily. Just keep the same ratios of chia seeds to liquid and adjust sweetness to taste. Store in individual portions for easy grab-and-go meals.
What are some topping ideas besides fruit and nuts?
Think outside the box with shredded coconut, cacao nibs, granola, chia jam, or even a dollop of nut butter. All add wonderful textures and flavors, enhancing your pudding experience.
Final Thoughts
The Creamy Chia Seed Pudding with Vanilla and Toppings Recipe is truly one of those effortless recipes that feels like a little luxury every time you make it. It’s adaptable, nourishing, and endlessly satisfying in all the right ways. I can’t wait for you to try it and discover how such simple ingredients can transform into something delightfully creamy and tasty. Once you do, it might just become your favorite healthy treat!
Print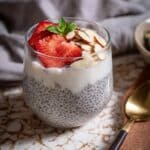
Creamy Chia Seed Pudding with Vanilla and Toppings Recipe
- Total Time: 5 minutes (plus at least 2 hours chilling time)
- Yield: 1 serving
- Diet: Vegan, Gluten Free
Description
A creamy, nutritious chia seed pudding made by soaking chia seeds in milk, enhanced with vanilla and natural sweeteners. This easy no-cook recipe is perfect for a quick, healthy breakfast or snack and can be customized with a variety of toppings like berries, nuts, or granola.
Ingredients
Base
- 3 tbsp chia seeds
- 1 cup milk (dairy or non-dairy)
- 1 tsp vanilla extract
- 1 tbsp honey or maple syrup
Toppings (Optional)
- Berries (such as blueberries, raspberries, or strawberries)
- Nuts (such as almonds or walnuts)
- Shredded coconut
- Granola
Instructions
- Combine Ingredients: In a jar or bowl, stir together the chia seeds, milk, vanilla extract, and honey or maple syrup until well mixed.
- Initial Rest: Let the mixture sit for 5 minutes to allow the chia seeds to begin absorbing the liquid.
- Stir Again: Stir the mixture again thoroughly to prevent the seeds from clumping together.
- Refrigerate: Cover the container and refrigerate for at least 2 hours or preferably overnight, allowing the chia seeds to fully hydrate and the pudding to thicken.
- Serve: Before serving, stir the pudding once more and add your favorite toppings such as fresh berries, nuts, shredded coconut, or granola for added texture and flavor.
Notes
- Use coconut milk for a richer, dessert-like pudding texture.
- For a vegan option, use maple syrup or agave nectar instead of honey.
- Customize by adding cinnamon or cocoa powder for different flavor profiles.
- Make a larger batch and store in the refrigerator for up to 3 days.
- Prep Time: 5 minutes
- Cook Time: 0 minutes
- Category: Breakfast
- Method: No-Cook
- Cuisine: American

