If you love cozy winter flavors and indulgent desserts, this Hot Chocolate Cheesecake Recipe is going to be your new favorite treat. Imagine the richness of creamy cheesecake infused with deep chocolate notes, perfectly capturing the warmth of a mug of hot cocoa. Topped with fluffy whipped cream and mini marshmallows, this dessert isn’t just delicious — it’s a nostalgic celebration on a plate that’s perfect for holiday gatherings or any time you want a little extra comfort in your life.
Ingredients You’ll Need
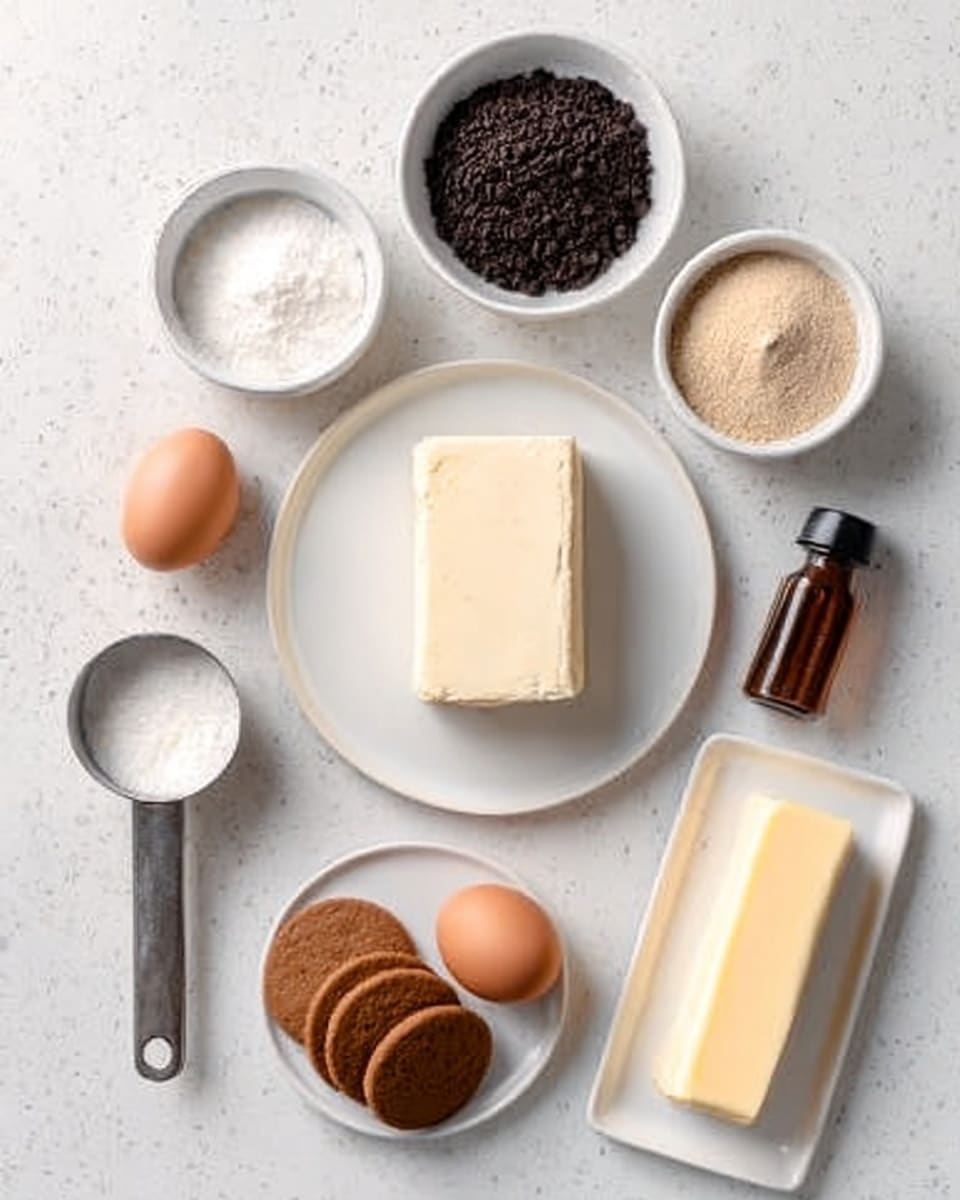
The beauty of this Hot Chocolate Cheesecake Recipe lies in its use of simple, accessible ingredients that each play a crucial role in creating its luscious flavor and perfect texture. From the crunchy chocolate cookie crust anchoring every bite to the silky, chocolatey cheesecake filling, every component brings something special to the table.
- Chocolate cookie crumbs: Use crushed Oreos or similar for a rich, chocolatey base that holds the crust together beautifully.
- Melted butter: Binds the crust crumbs and adds a glossy, decadent richness.
- Sugar: A touch in the crust balances flavors and enhances browning.
- Cream cheese: The creamy heart of the cheesecake, softened to ensure a silky finish.
- Granulated sugar: Sweetens the filling to the perfect degree without overpowering.
- Cocoa powder: Brings that classic hot chocolate color and a deep chocolate punch.
- Sour cream: Adds moisture and slight tang, creating a velvety texture.
- Semi-sweet chocolate: Melted for that creamy chocolate intensity everyone loves.
- Eggs: Provide structure and help the cheesecake set just right.
- Vanilla extract: Enhances the chocolate flavors with warm, comforting notes.
- Salt: Balances sweetness and enriches chocolate flavor.
- Whipped cream, mini marshmallows, hot fudge drizzle, chocolate shavings: Optional toppings that amplify the dessert’s festive, cozy vibe.
How to Make Hot Chocolate Cheesecake Recipe
Step 1: Prepare the Crust
First things first — preheat your oven to 325°F (160°C) and grease a 9-inch springform pan. Mix together the chocolate cookie crumbs, melted butter, and sugar until the texture resembles wet sand. Press this mixture firmly into the bottom of the pan to form an even crust, then bake for 8 minutes to set it. This step locks in the chocolate flavor and gives you that delightful crunchy base.
Step 2: Beat the Cream Cheese Base
In a stand mixer or with a hand mixer, beat the softened cream cheese until it’s flawlessly smooth. This is the foundation for the cheesecake’s creaminess, so don’t rush this step. Add in the granulated sugar and cocoa powder, then continue beating to combine everything evenly. This creates the rich, chocolatey heart that makes this Hot Chocolate Cheesecake Recipe so irresistible.
Step 3: Add the Moisture and Flavor
Next up, mix in the sour cream, melted chocolate, vanilla extract, and salt. These ingredients work in harmony to add moisture, deepen the chocolate flavor, and balance the sweetness with the touch of salt. Stir until the batter is completely uniform and glossy.
Step 4: Incorporate the Eggs
Add the eggs one at a time, mixing just enough to combine each addition. Overmixing here can lead to cracks in your cheesecake, so keep it gentle! This step is crucial for that rich yet tender texture that melts in your mouth.
Step 5: Assemble and Bake
Pour the luscious filling over your baked crust and smooth out the top with a spatula. Bake for 50 to 60 minutes, keeping an eye out for that perfect jiggle in the center — it should be just set but still slightly wobbly. This ensures a creamy consistency rather than a dry cheesecake.
Step 6: Chill and Set
Turn off the oven but leave the cheesecake inside with the door cracked open for about an hour. This slow cooling helps prevent cracks and lets the flavors settle. After this, refrigerate for at least 4 hours or overnight to fully set and develop its signature silky texture.
How to Serve Hot Chocolate Cheesecake Recipe
Garnishes
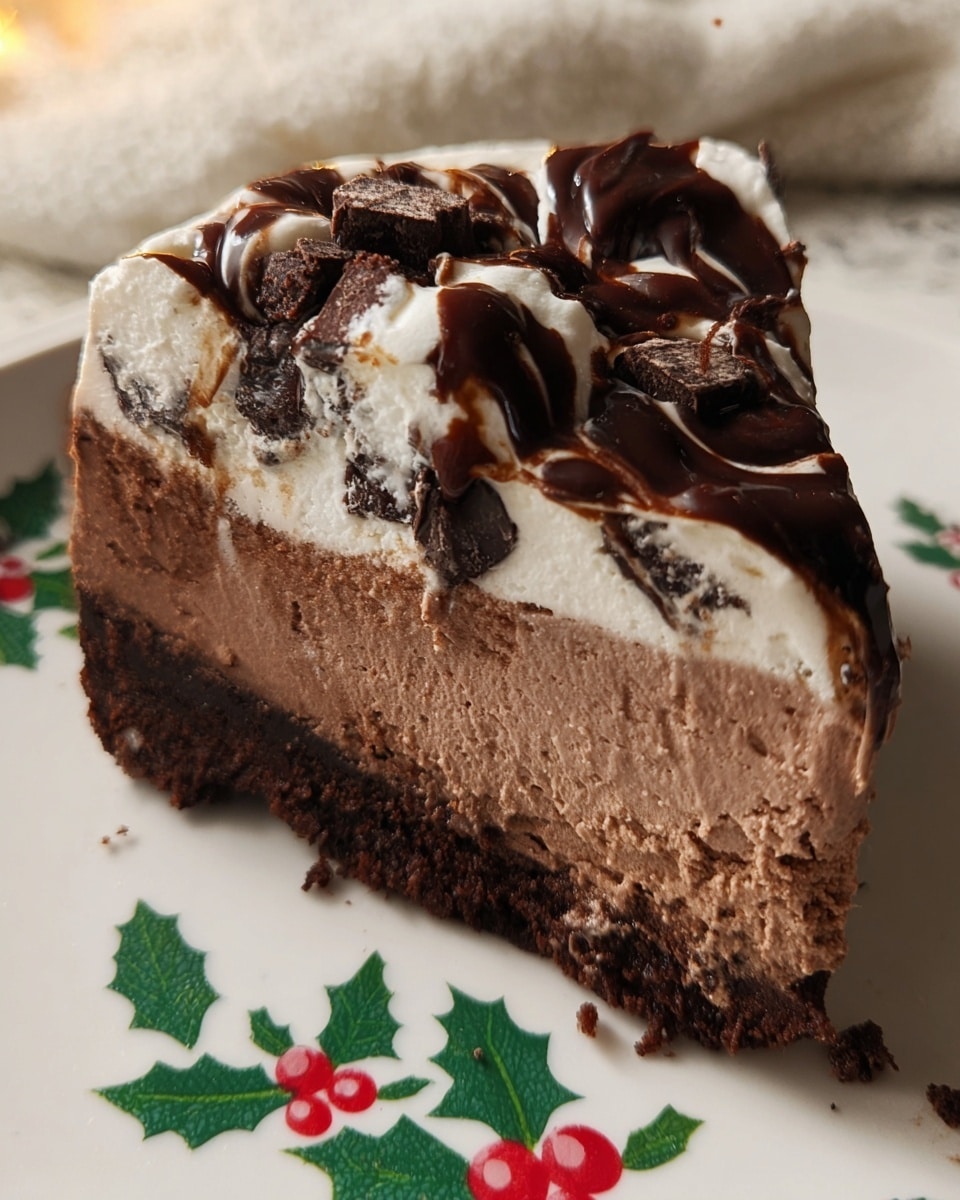
Nothing beats serving this cheesecake with a generous swirl of fluffy whipped cream and a scattering of mini marshmallows for that true hot chocolate vibe. A drizzle of warm hot fudge sauce and a sprinkle of chocolate shavings or sprinkles add layers of decadence and visual appeal that turn each slice into a festive masterpiece.
Side Dishes
This dessert pairs beautifully with something light and refreshing to balance the richness. Think along the lines of fresh berries, a dollop of tangy raspberry coulis, or even a simple cup of espresso or peppermint tea to cleanse the palate and complement the chocolate.
Creative Ways to Present
For parties, serve the cheesecake as mini individual portions in clear glasses layered with crushed cookie crumbs and whipped cream. Or create a hot chocolate cheesecake trifle by alternating layers of cheesecake, marshmallows, and fudge sauce in a large bowl — it’s a guaranteed showstopper!
Make Ahead and Storage
Storing Leftovers
Once your Hot Chocolate Cheesecake Recipe is chilled, cover it tightly with plastic wrap or store in an airtight container in the refrigerator. It will stay fresh and delicious for up to 4 days, making it perfect for enjoying throughout the week or sharing with friends.
Freezing
You can freeze this cheesecake successfully by wrapping it well in plastic wrap and aluminum foil to prevent freezer burn. Thaw overnight in the refrigerator before serving. The texture remains creamy, though the toppings are best added fresh after thawing.
Reheating
Since cheesecake is best served cold, reheating isn’t recommended. However, if you prefer it slightly warmer, let individual slices sit at room temperature for 20–30 minutes before serving to soften them slightly without losing that cool creaminess.
FAQs
Can I use a different type of chocolate in this Hot Chocolate Cheesecake Recipe?
Absolutely! While semi-sweet chocolate is classic, you can experiment with dark chocolate for a more intense flavor or milk chocolate for a sweeter, creamier result. Just be sure to adjust sugar amounts if you switch to sweeter chocolate.
What can I substitute for sour cream if I don’t have any?
Greek yogurt is a great substitute for sour cream in this recipe, providing the same tang and creaminess. Just use the same amount to maintain the texture and flavor balance.
Is it necessary to bake the crust before adding the filling?
Yes, prebaking the crust helps it set firm so it can hold the creamy cheesecake without becoming soggy. It also intensifies the chocolate flavor and gives a pleasant crunch with every bite.
How do I avoid cracks on the surface of my cheesecake?
Avoid overmixing eggs, bake at a low temperature, use a water bath if possible, and allow the cheesecake to cool gradually in the oven with the door slightly open. These steps create a smooth, crack-free finish that looks as good as it tastes.
Can this Hot Chocolate Cheesecake Recipe be made gluten-free?
Yes! Simply substitute the regular chocolate cookie crumbs with gluten-free cookies for the crust. The rest of the ingredients are naturally gluten-free, so you’ll still get the same delicious results.
Final Thoughts
This Hot Chocolate Cheesecake Recipe is a wonderfully indulgent way to bring the cozy comfort of hot cocoa into a dessert that’s sure to impress. Whether you’re baking for a holiday gathering or just craving something rich and chocolatey, this cheesecake will make your heart and taste buds happy. Give it a try, and get ready to fall in love with your new favorite dessert!
Print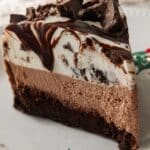
Hot Chocolate Cheesecake Recipe
- Total Time: 5 hours 20 minutes
- Yield: 12 servings
- Diet: Vegetarian
Description
This Hot Chocolate Cheesecake is a rich, creamy dessert that combines the decadent flavors of chocolate cheesecake with the cozy nostalgia of winter hot cocoa. Featuring a chocolate cookie crust and a luscious chocolate-infused filling, it is topped with fluffy whipped cream, mini marshmallows, and optional hot fudge drizzle and chocolate shavings, making it a festive and impressive holiday dessert.
Ingredients
Crust:
- 1 ½ cups chocolate cookie crumbs (like Oreos, crushed)
- 5 tbsp melted butter
- 1 tbsp sugar (optional)
Cheesecake Filling:
- 24 oz cream cheese, softened
- 1 cup granulated sugar
- ¼ cup cocoa powder
- ½ cup sour cream
- 8 oz semi-sweet chocolate, melted and slightly cooled
- 3 large eggs
- 2 tsp vanilla extract
- ½ tsp salt
Toppings:
- Whipped cream
- Mini marshmallows
- Hot fudge drizzle (optional)
- Chocolate shavings or sprinkles (optional)
Instructions
- Preheat and Prepare Pan: Preheat your oven to 325°F (160°C) and grease a 9-inch springform pan to prevent sticking.
- Make the Crust: In a bowl, combine the chocolate cookie crumbs, melted butter, and optional sugar. Press the mixture firmly into the bottom of the prepared pan. Bake the crust for 8 minutes to set it.
- Beat Cream Cheese: Using a stand mixer, beat the softened cream cheese until smooth and creamy to ensure a lump-free filling.
- Add Sugar and Cocoa: Incorporate the granulated sugar and cocoa powder into the cream cheese, beating again until fully blended.
- Add Remaining Filling Ingredients: Mix in sour cream, melted semi-sweet chocolate, vanilla extract, and salt until the mixture is smooth and homogeneous.
- Incorporate Eggs: Add the eggs one at a time, mixing just until each egg is incorporated to avoid overmixing which can cause cracks.
- Assemble and Bake: Pour the cheesecake filling over the baked crust and smooth the top with a spatula. Bake for 50–60 minutes or until the center is just set but still has a slight jiggle.
- Cool Gradually: Turn off the oven and let the cheesecake cool inside with the door slightly cracked for 1 hour to prevent sudden temperature changes that cause cracking.
- Chill: Refrigerate the cheesecake for at least 4 hours or overnight for optimal flavor and texture.
- Add Toppings: Just before serving, top the cheesecake with whipped cream, mini marshmallows, and optionally drizzle with hot fudge and sprinkle chocolate shavings or sprinkles.
Notes
- For a silky smooth texture and to prevent cracking, bake the cheesecake in a water bath.
- Chilling the cheesecake overnight enhances flavor and makes slicing easier.
- This cheesecake can be made 1–2 days ahead, making it great for holiday meal prep.
- To make this recipe gluten-free, substitute chocolate cookies with gluten-free versions for the crust.
- Prep Time: 20 minutes
- Cook Time: 60 minutes
- Category: Dessert, Holiday
- Method: Baking
- Cuisine: American

