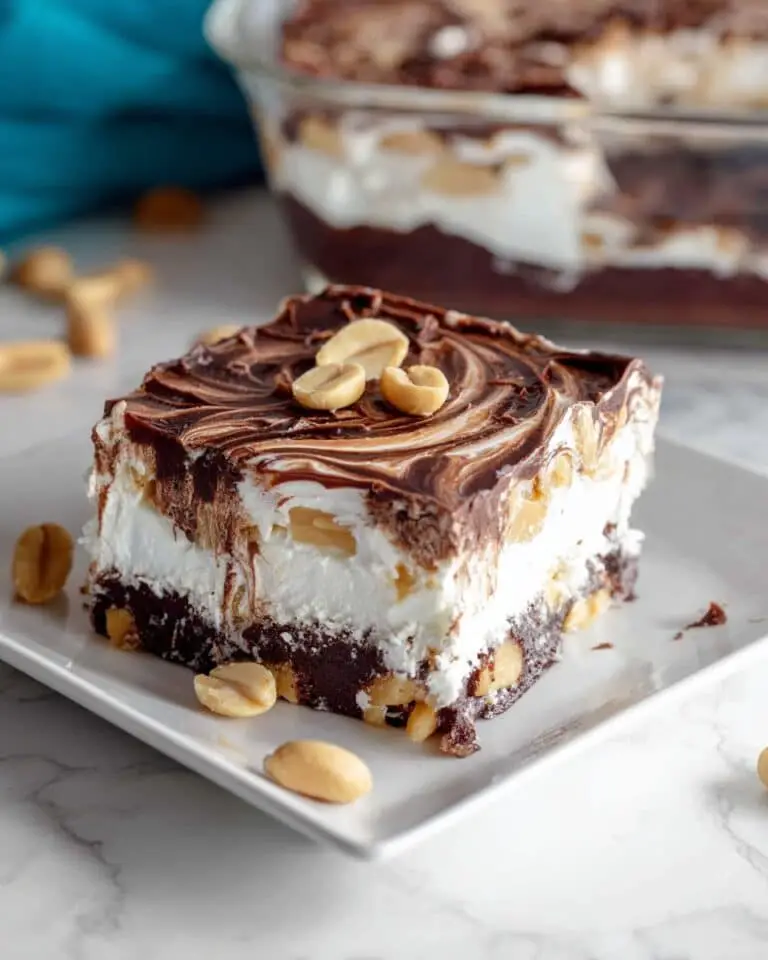
If you love decadent desserts that deliver both ease and wow factor, Chocolate Lush absolutely belongs at the top of your must-make list. This no-bake, layered masterpiece balances velvety cream cheese, rich chocolate pudding, and a dreamy whipped topping over a chocolate cookie crust. The result? A chilled, creamy slice of nostalgia and comfort that’s impossible to resist, whether you’re feeding a crowd or treating yourself to a well-earned indulgence. Chocolate Lush is truly one of those desserts you’ll crave again and again!
Ingredients You’ll Need
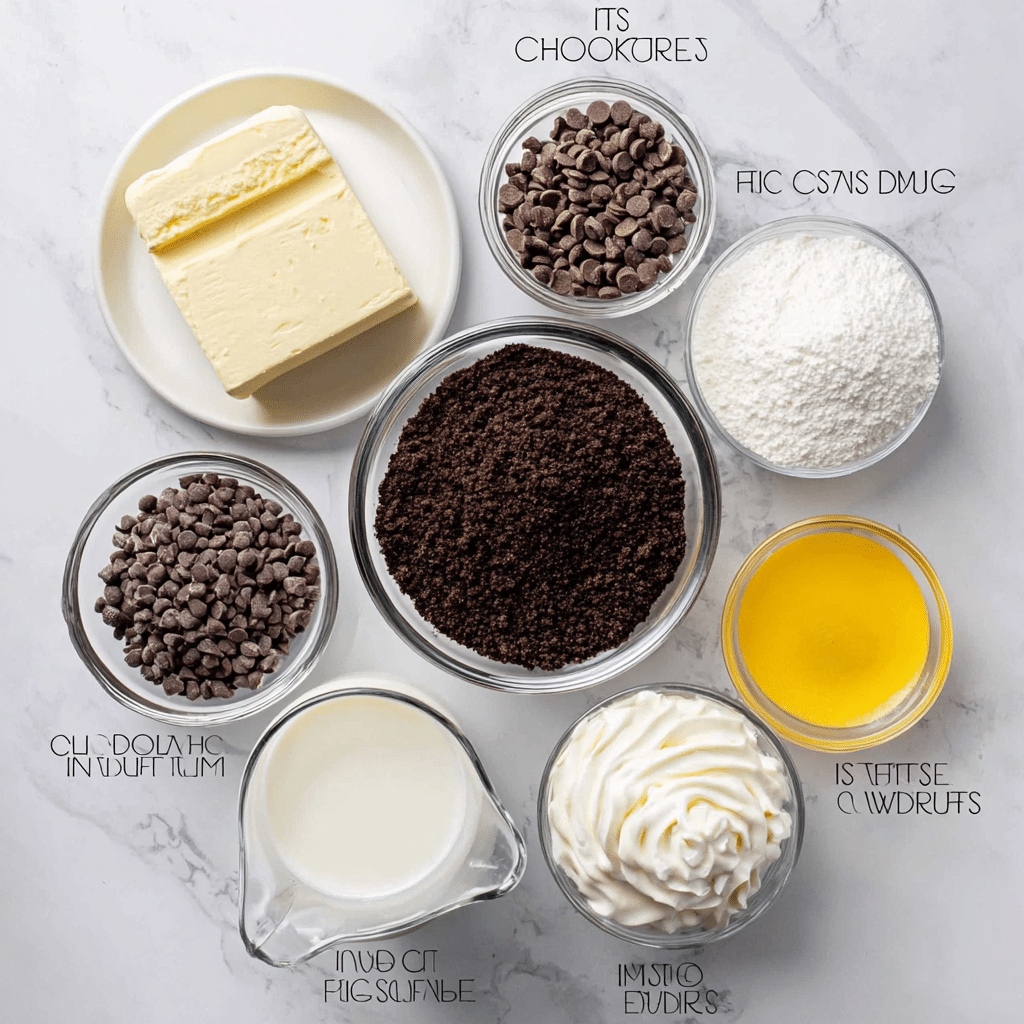
The joy of Chocolate Lush comes from its simple, straightforward ingredients—each one playing a key part in creating that luscious, layered effect we all adore. Don’t underestimate how these readily available items combine for a dessert that feels a little bit magical every single time.
- Oreo cookies, crushed: The foundation of your dessert, these provide a deep chocolatey crunch that’s the perfect counterpoint to the creamy layers above.
- Butter, melted: Binding the crust together, melted butter infuses each bite with richness and helps everything set perfectly.
- Cream cheese: Creating a tangy, silky layer, cream cheese brings balance to the sweetness while adding body to the filling.
- Powdered sugar: This blends smoothly with the cream cheese, sweetening without graininess and giving that unmistakably soft texture.
- Cool Whip (whipped topping): Light and fluffy, this helps lift both the signature creamy layer and the finishing touch on top, keeping things airy, not dense.
- Instant chocolate pudding mix: Quick and intensely chocolatey, instant pudding provides a bold, glossy middle layer that anchors the dish’s namesake flavor.
- Milk: Essential for setting the pudding, milk also ensures the layer is supple and effortlessly melds with everything else.
How to Make Chocolate Lush
Step 1: Prepare the Oreo Cookie Crust
Start by crushing your Oreo cookies into fine crumbs—either in a food processor or inside a sturdy zipped bag using a rolling pin for a little stress relief! Stir the warm melted butter right into the crumbs, mixing thoroughly. Press this deliciously dark mixture firmly into the bottom of a 9×13-inch dish, making sure you cover every corner. Pop it in the fridge to chill while you work on the next step, so your crust gets nice and firm.
Step 2: Whip Up the Cream Cheese Layer
In a medium bowl, beat the softened cream cheese with the powdered sugar until everything is smooth and creamy—no lumps allowed. Gently fold in half of your Cool Whip, turning the mix into a dreamy, pillowy filling. Smooth this luscious white layer evenly over your chilled crust, spreading gently so you keep that base nice and intact.
Step 3: Mix and Layer the Chocolate Pudding
Grab a large bowl and whisk together the instant chocolate pudding mixes with the cold milk. Within a couple of minutes, the pudding will thicken into that classic, glossy consistency. Pour this chocolatey goodness right over your cream cheese layer, and use a spatula to even it all out from edge to edge.
Step 4: Top With Cool Whip and Chill
Finally, spread the rest of the Cool Whip generously over the chocolate pudding layer, creating your snowy, cloud-like top. It’s tempting to dig in right away, but trust me—Chocolate Lush transforms in the fridge. Let it chill for at least 4 hours, or overnight if you can wait. This allows every layer to set up beautifully and become fork-ready.
How to Serve Chocolate Lush
Garnishes
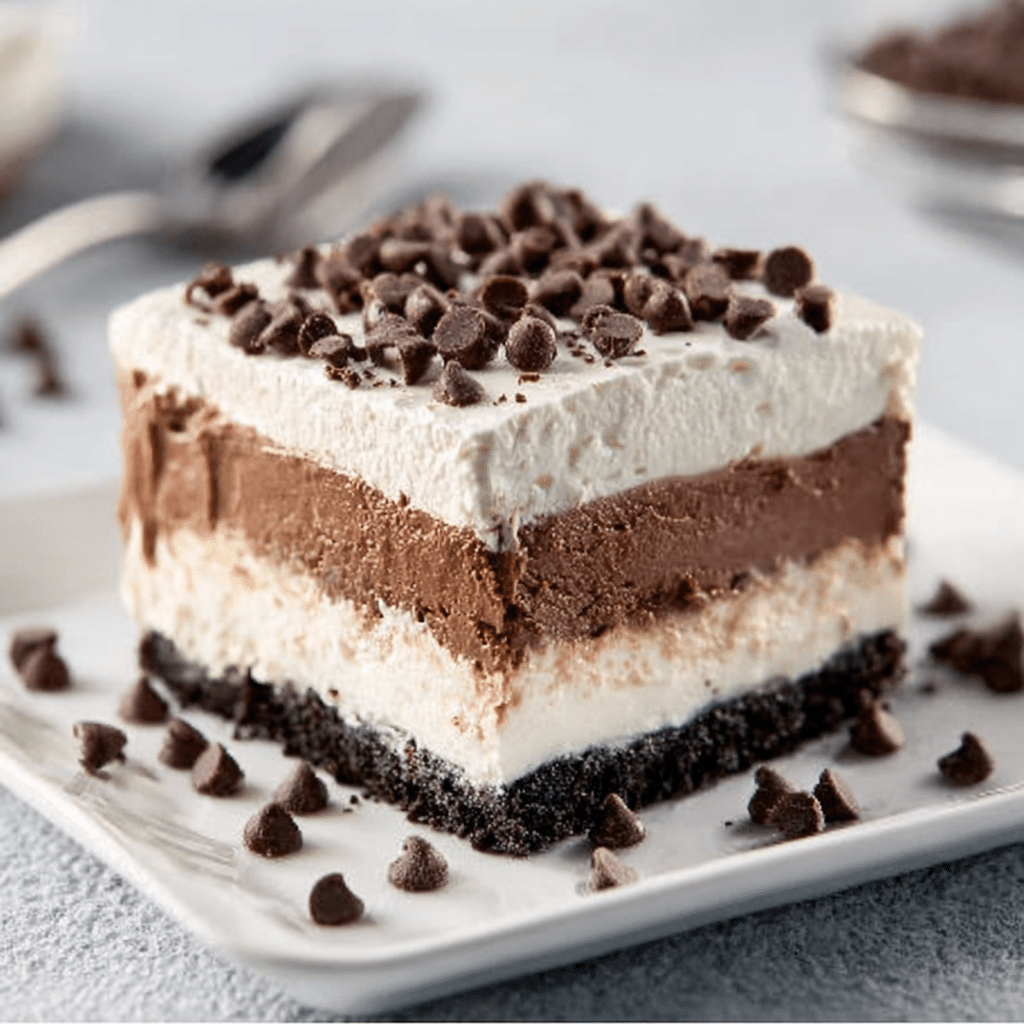
To really make your Chocolate Lush pop, add a flourish of garnishes just before serving. A light shower of extra crushed Oreos, chocolate shavings, or even a sprinkle of mini chocolate chips brings texture and a little bit of drama. For an elegant touch, try a dusting from a fine-mesh sieve of cocoa powder or even a few chocolate curls—whatever makes your inner dessert stylist smile!
Side Dishes
Chocolate Lush is definitely the star of the show, but if you’re creating a full dessert spread, pair it with a platter of fresh berries or a tangy fruit salad. Their bright flavors and juiciness offer a refreshing counterpoint to the richness of this treat, making each bite feel even more balanced and special.
Creative Ways to Present
You can serve Chocolate Lush family-style straight from the dish for nostalgic potluck fun, but don’t be afraid to get creative. Try layering it into small glass jars for individually portioned parfaits, or use a round springform pan for a “cake” presentation. Even cutting it into mini squares for a dessert buffet lets everyone have just the right amount—or come back for seconds!
Make Ahead and Storage
Storing Leftovers
If you find yourself with leftovers (which doesn’t always happen!), cover your Chocolate Lush tightly with plastic wrap or a fitted lid and store in the refrigerator for up to 4–5 days. The layers remain creamy and delicious, though the crust may soften a bit as it sits—it’s still just as delightful.
Freezing
Chocolate Lush actually freezes quite well! Assemble as usual, making sure to wrap the dish snugly with layers of plastic and foil. It should keep nicely for up to one month. For the best texture, let it thaw overnight in the fridge before serving. The whipped topping holds up well, so you can enjoy a slice whenever those chocolate cravings hit unexpectedly.
Reheating
Part of this dessert’s charm is its chilled, refreshing layers, so reheating isn’t needed—or recommended! Serve it straight from the fridge and savor that cool, creamy texture. If you’ve frozen slices, just allow time for them to thaw in the fridge, and they’ll be as luscious as ever.
FAQs
Can I use homemade whipped cream instead of Cool Whip?
Absolutely! If you prefer homemade whipped cream, just whip up about 3 cups of heavy cream with powdered sugar to taste. It brings a richer, fresher flavor, but keep in mind the stability may be slightly less compared to Cool Whip.
Can I make Chocolate Lush gluten free?
You sure can. Just swap out the Oreos for your favorite gluten-free chocolate sandwich cookie and double-check your pudding mix is gluten-free. It’s a simple tweak that keeps all the indulgence intact.
What if I only have cook-and-serve pudding?
Instant pudding is preferred for convenience, but if all you have is cook-and-serve, prepare it as directed and allow it to completely cool and thicken before layering. This extra step still gives you that wonderful, chocolatey middle layer.
Can I add nuts or fruit to the layers?
Definitely! Some people love to fold finely chopped pecans or walnuts into the cream cheese layer or sprinkle them on top. For a fruity twist, fresh raspberries or sliced bananas between the pudding and cream layers are delicious upgrades.
How far in advance can I make Chocolate Lush?
Chocolate Lush is ideal for making ahead! You can assemble it up to 24 hours before serving—just keep it well covered in the fridge. The flavors mingle, the layers firm up, and you’ll have less to worry about on party day.
Final Thoughts
I truly hope you give Chocolate Lush a try—it’s a dessert that reliably turns any gathering into an occasion and keeps everyone coming back for “just one more slice.” There’s a reason it’s a family-favorite in so many kitchens. Let it become a classic in yours, too!
Print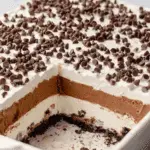
Chocolate Lush Recipe
- Total Time: 4h20m
- Yield: 12
- Diet: Vegetarian
Description
Indulge in the layers of creamy goodness with this Chocolate Lush dessert. A no-bake treat featuring a cookie crust, luscious cream cheese filling, decadent chocolate pudding, and a fluffy whipped topping.
Ingredients
Cookie Crust:
- 1 pkg Oreo cookies, crushed
- 1/2 cup butter, melted
Cream Cheese Layer:
- 8 oz cream cheese
- 1/2 cup powdered sugar
- 1 (16 oz) Cool Whip
Chocolate Pudding Layer:
- 2 pkgs instant chocolate pudding
- 3 cups milk
Instructions
- Prepare Cookie Crust: Mix crushed cookies and melted butter, then press into a dish.
- Prepare Cream Cheese Layer: Blend cream cheese and powdered sugar, then fold in Cool Whip. Spread over crust.
- Prepare Chocolate Pudding Layer: Make chocolate pudding with milk, then layer on top of cream cheese mixture.
- Final Layer: Spread the remaining Cool Whip over the pudding layer. Chill in the refrigerator for at least 4 hours before serving.
- Prep Time: 20m
- Category: Dessert
- Method: No-Bake
- Cuisine: American

