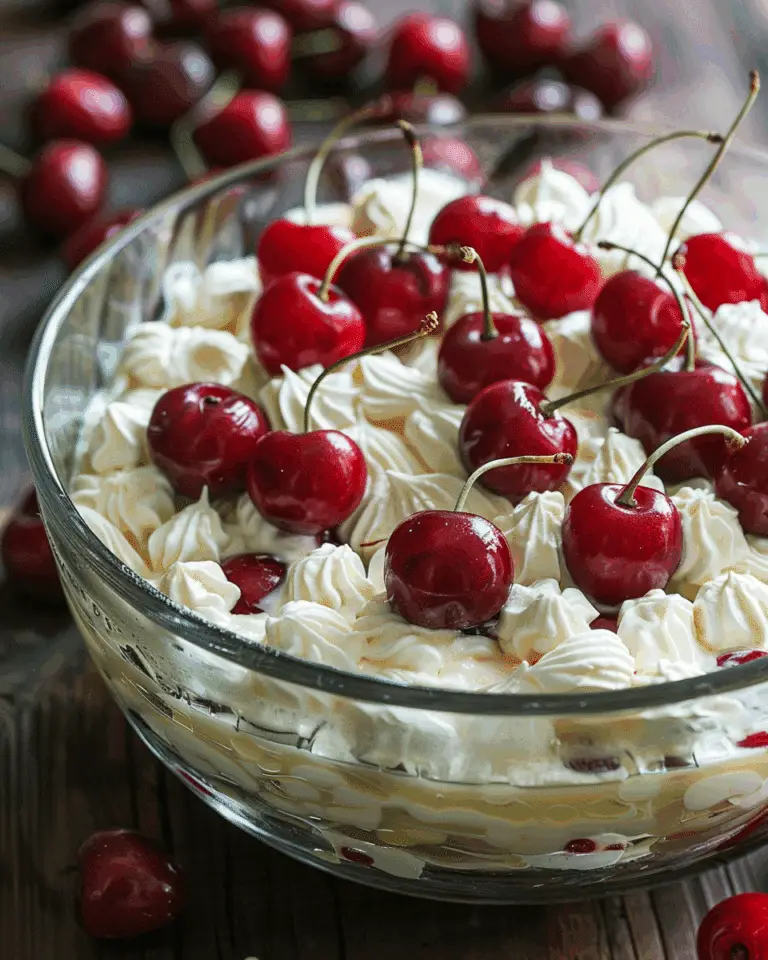
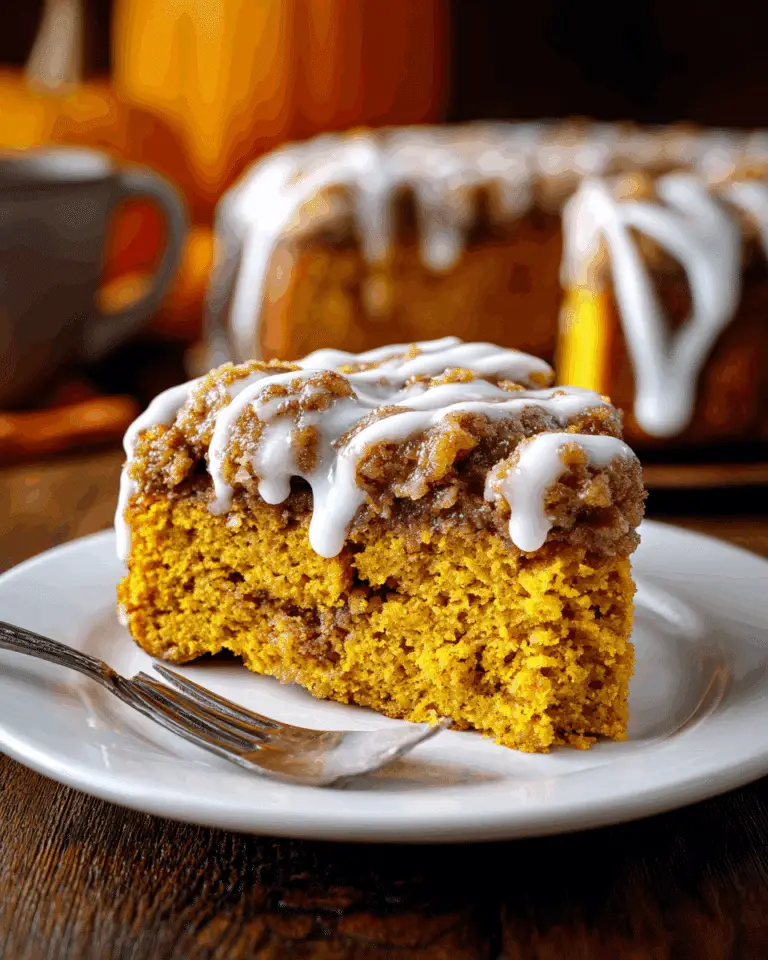
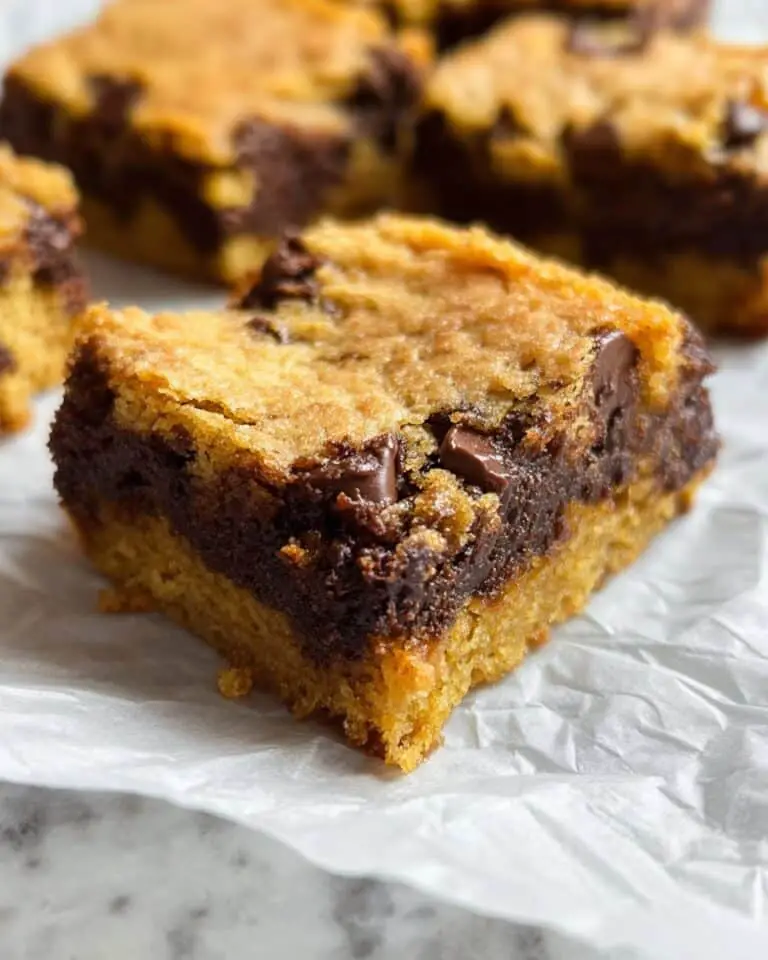
If you love the comforting flavors of traditional cherry pie but want something easier to slice and serve, this Cherry Pie Bars with Crumbly Topping Recipe is going to be your new go-to dessert. Imagine biting into a soft, buttery crust layered with sweet and tart cherry pie filling, all finished off with irresistible crumbly topping pieces that add the perfect texture contrast. It’s such a joy to make and share, perfect for holiday gatherings, potlucks, or any time you want a little sweet escape without fussing over individual pies. Trust me, once you try this recipe, you’ll wonder how you ever lived without these luscious bars in your dessert rotation!
Ingredients You’ll Need
Keeping the ingredients simple but thoughtfully chosen is key to nailing the perfect balance of flavors and textures in this Cherry Pie Bars with Crumbly Topping Recipe. Each component plays an essential role in building that luscious, layered experience that makes these bars utterly addictive.
- 1 cup butter, softened: Provides a rich, tender crumb and buttery flavor that creates the perfect base and topping.
- 1 ½ cups sugar: Adds balanced sweetness to complement the tart cherry filling, keeping every bite delightful.
- 4 large eggs: Binds the ingredients together and gives structure while making the bars pleasantly moist.
- 1 tsp vanilla extract: Enhances the overall flavor with warm, aromatic notes that tie everything together.
- 3 cups all-purpose flour: Builds the sturdy yet tender crust and crumbly topping essential for that classic bar texture.
- 1 tsp salt: Balances sweetness and deepens the buttery richness for a well-rounded taste.
- 1 (21 oz) can cherry pie filling: The star ingredient that brings sweet and tart cherries bursting with flavor inside each bar.
How to Make Cherry Pie Bars with Crumbly Topping Recipe
Step 1: Preheat and Prepare Your Pan
Start by preheating your oven to 350°F (175°C) so it’s perfectly warm when you’re ready to bake. Grease a 10×15-inch jelly roll pan thoroughly to ensure your bars lift out easily without sticking. This simple prep step sets a smooth path for the layers you’re about to create.
Step 2: Cream Butter and Sugar
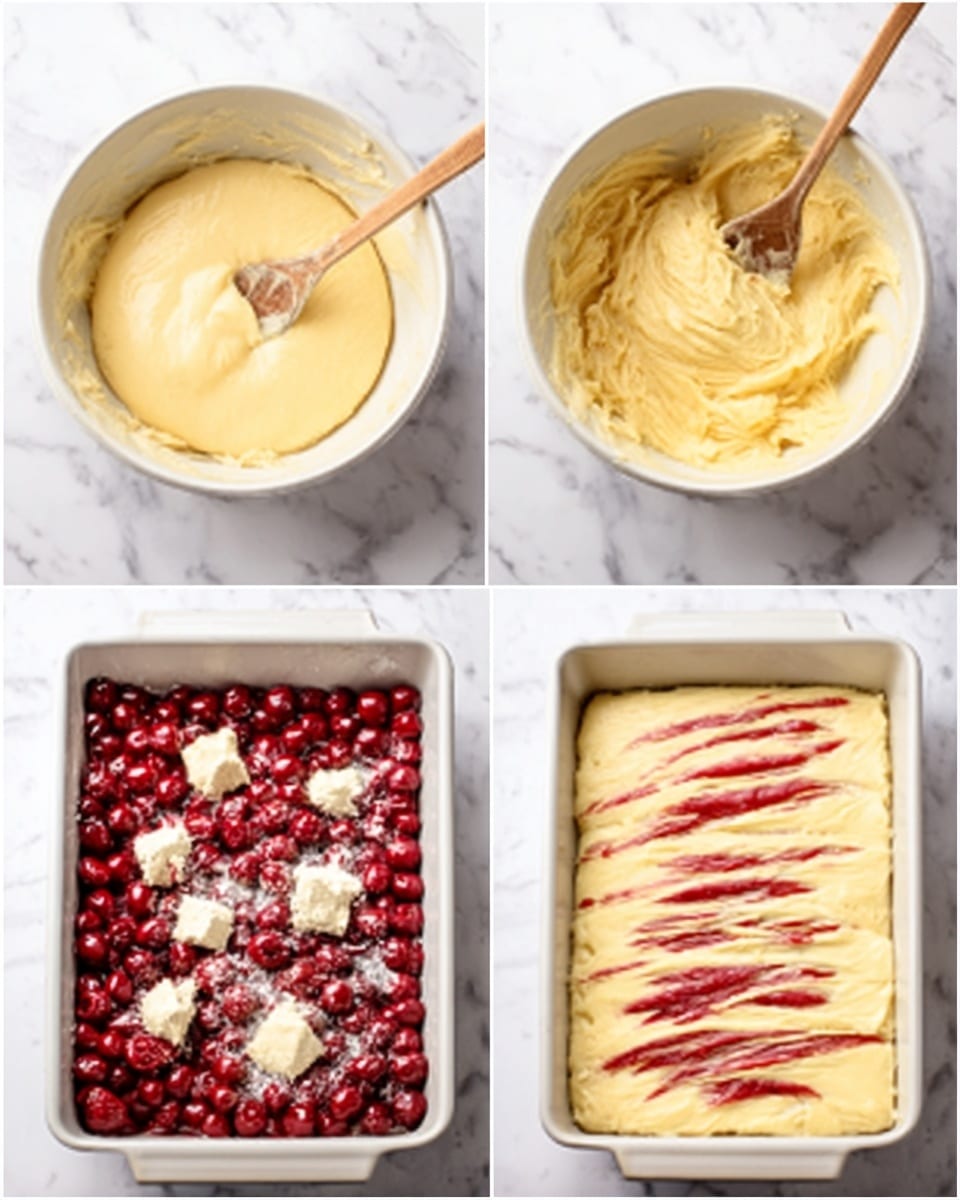
In a large bowl, beat together the softened butter and sugar until the mixture turns light and fluffy. This step is crucial because creaming these two ingredients thoroughly aerates your batter, which leads to a tender, chewy crust and topping.
Step 3: Add Eggs and Vanilla
Next, mix in the eggs and vanilla extract one at a time, ensuring each is fully combined before adding the next. These ingredients add richness and a lovely aromatic undertone that will elevate the cherry flavors.
Step 4: Incorporate Flour and Salt
Gradually stir in the all-purpose flour and salt into your wet mixture. Mix just until combined to keep the texture tender and crumbly, which is the hallmark of this recipe’s topping and base.
Step 5: Layer the Batter and Cherry Filling
Spread about two-thirds of the batter evenly into the prepared pan to form the bottom crust. Then, spoon the entire cherry pie filling on top, spreading it out gently but evenly so every bar gets a generous dose of juicy cherries.
Step 6: Add the Crumbly Topping
Finally, drop spoonfuls of the remaining batter over the cherry filling. Don’t worry about covering every inch perfectly; the nooks and crannies between the dollops create the ideal crumbly texture that’s both rustic and irresistible.
Step 7: Bake Until Golden
Bake the assembled bars in your preheated oven for 30 to 35 minutes, or until the topping turns a lovely golden brown and the edges look set. Then, allow the bars to cool completely before cutting them to keep the layers intact and serve clean slices.
How to Serve Cherry Pie Bars with Crumbly Topping Recipe
Garnishes
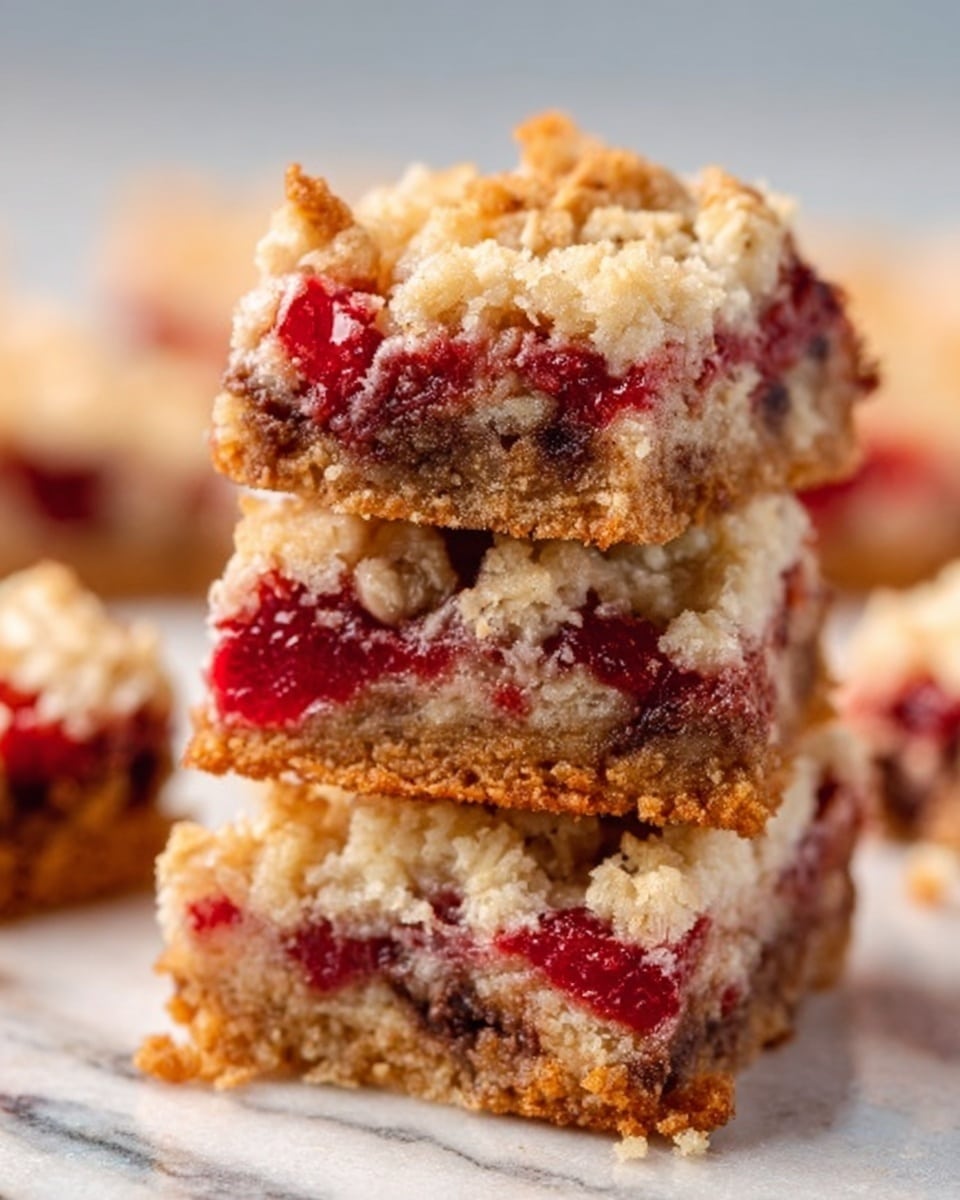
These bars shine on their own but become even more special with a dusting of powdered sugar or a light drizzle of simple glaze made from powdered sugar and milk. For an extra celebratory touch, a dollop of whipped cream or a scoop of vanilla ice cream on the side offers a creamy contrast to the crumbly texture and juicy cherries.
Side Dishes
Cherry Pie Bars make a charming dessert alongside a fresh, lightly dressed green salad or served after a spicy meal to mellow out flavors. They’re also delightful paired with a warm cup of coffee or a cold glass of milk, turning an ordinary coffee break into a moment to savor.
Creative Ways to Present
For potlucks or parties, consider cutting the bars into smaller bites and serving them on decorative trays with fresh cherry sprigs or mint leaves as garnish. You can also layer them with whipped cream and fresh berries in parfait glasses for an elegant twist that guests will adore.
Make Ahead and Storage
Storing Leftovers
You can keep leftover Cherry Pie Bars with Crumbly Topping Recipe fresh by storing them in an airtight container at room temperature for up to 2 days. If you prefer, refrigeration extends their life to about a week without sacrificing texture, just make sure they’re sealed well to prevent drying out.
Freezing
These bars freeze beautifully, making them perfect for preparing in advance. Wrap them tightly in plastic wrap and then foil, or place in a freezer-safe container. They should keep well for up to 3 months. When you’re ready to enjoy, thaw in the refrigerator overnight.
Reheating
To bring back that freshly baked warmth, pop the thawed bars in a 300°F (150°C) oven for about 10 minutes or until warmed through. This quick reheat revives the crumbly topping and softens the cherry filling nicely, giving you that just-baked feeling anytime.
FAQs
Can I use fresh cherries instead of canned cherry pie filling?
Absolutely! If using fresh cherries, you might need to cook them down with some sugar and a bit of cornstarch until thickened to mimic the texture of pie filling. This swap can make your bars even more vibrant and fresh-tasting.
Is it possible to make this recipe gluten-free?
Yes, you can substitute the all-purpose flour with a gluten-free baking blend that includes xanthan gum. Just keep in mind that texture might vary slightly but will still be delicious.
Can I add nuts to the crumbly topping?
Definitely! Chopped almonds, pecans, or walnuts work wonderfully mixed into the topping batter to add crunch and a nutty flavor. Toast them first for extra depth.
How thick should I spread the batter in the pan?
Spreading about two-thirds of the batter evenly to create around a half-inch thick base layer is ideal. Too thin, and the bars will be fragile; too thick, they may underbake in the center.
What is the best way to cut the bars without them crumbling?
The key is to let the bars cool completely before slicing. Use a sharp knife and warm it slightly by dipping in hot water and drying between cuts for clean, neat slices.
Final Thoughts
This Cherry Pie Bars with Crumbly Topping Recipe is truly a treasure for anyone who loves nostalgic, comforting desserts with a hint of elegance and ease. It’s one of those recipes you’ll want to keep in your back pocket for any occasion that calls for something sweet and satisfying. Give it a try and see how quickly these bars become a beloved favorite in your family and friend circle!
Print
Cherry Pie Bars with Crumbly Topping Recipe
- Total Time: 50 mins
- Yield: 24 bars
- Diet: Vegetarian
Description
These buttery cherry bars feature a soft crust, sweet-tart cherry filling, and crumbly topping — an easy dessert that’s perfect for holidays or potlucks. With a tender base and a luscious cherry pie filling, these bars are a delightful treat for any occasion.
Ingredients
Base and Topping
- 1 cup butter, softened
- 1 ½ cups sugar
- 4 large eggs
- 1 tsp vanilla extract
- 3 cups all-purpose flour
- 1 tsp salt
Filling
- 1 (21 oz) can cherry pie filling
Instructions
- Preheat and Prepare Pan: Preheat oven to 350°F (175°C) and grease a 10×15-inch jelly roll pan thoroughly to prevent sticking and ensure even baking.
- Cream Butter and Sugar: In a large bowl, cream together the softened butter and sugar until light and fluffy to build a tender and airy base for the bars.
- Add Eggs and Vanilla: Beat in the eggs one at a time, then add the vanilla extract, mixing well to incorporate all ingredients evenly.
- Combine Dry Ingredients: Stir in the flour and salt until just combined, forming a soft batter that will create the crust and crumbly topping.
- Assemble Bars: Spread two-thirds of the batter evenly into the prepared pan, creating the base layer. Carefully spread the cherry pie filling evenly over the batter. Drop the remaining batter in spoonfuls over the cherry filling to form an uneven, crumbly topping.
- Bake: Bake in the preheated oven for 30 to 35 minutes or until the top is golden and a toothpick inserted into the crust (not the filling) comes out clean.
- Cool and Serve: Allow the bars to cool completely in the pan before slicing into 24 bars. Optionally, drizzle with a simple glaze made from powdered sugar and milk for added sweetness.
Notes
- Drizzle with a simple glaze of powdered sugar and milk to add an extra touch of sweetness and a glossy finish.
- For best texture, be sure not to overmix the batter once the flour is added.
- You can substitute cherry pie filling with other fruit pie fillings for flavor variations.
- Store bars in an airtight container at room temperature for up to 3 days or refrigerate for longer freshness.
- Prep Time: 15 mins
- Cook Time: 35 mins
- Category: Dessert
- Method: Baking
- Cuisine: American

