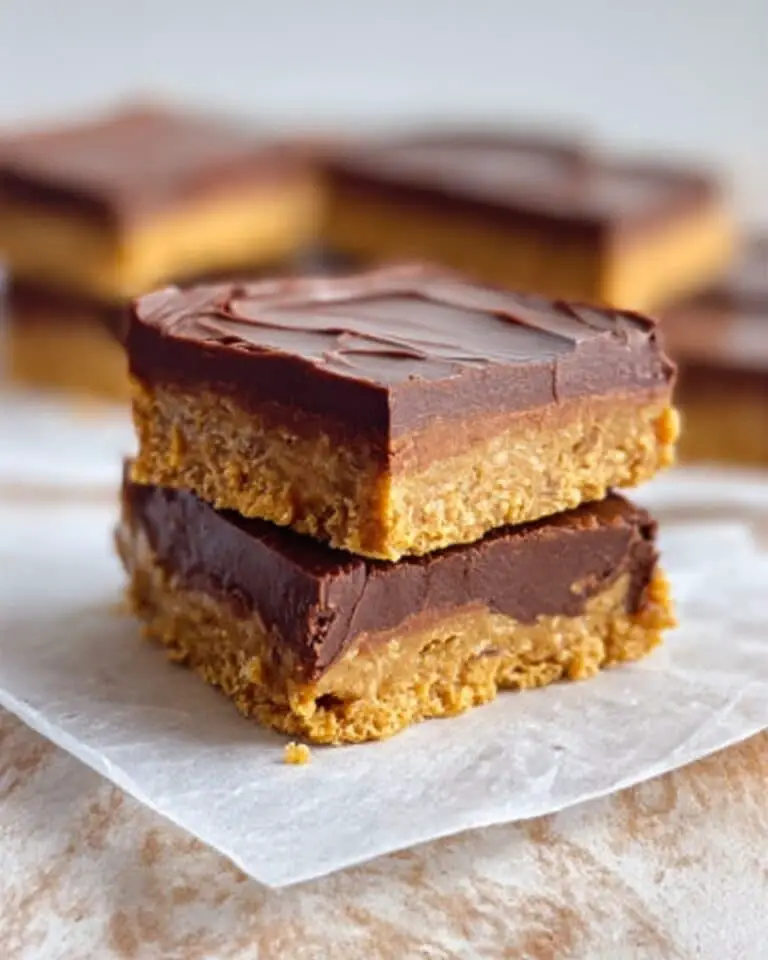
If you love a frozen dessert that’s dreamy, indulgent, and packed with textures that make every bite exciting, then the Buster Bar Dessert: No-Bake Oreo Fudge Ice Cream Cake Recipe is about to become your new go-to. This heavenly treat takes inspiration from the classic Dairy Queen Buster Bar, layering crunchy Oreo cookie crust, smooth vanilla ice cream, salty roasted peanuts, and rich hot fudge in a luscious no-bake ice cream cake. It’s not just a dessert; it’s a celebration of flavors and textures that come together to create a refreshing delight perfect for any season.
Ingredients You’ll Need
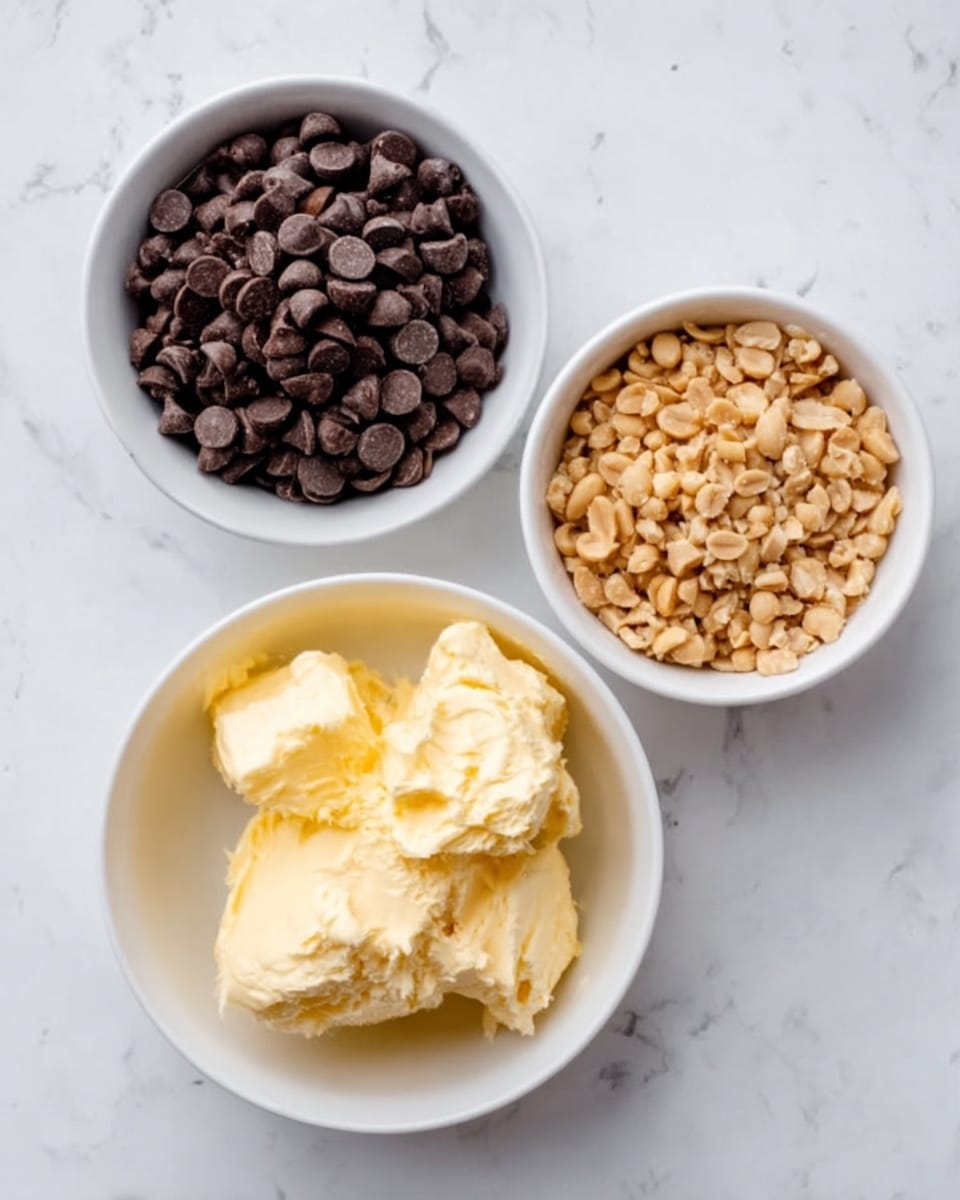
Getting this dessert right is all about simple ingredients that pack serious flavor and texture. Each element plays a vital role — from the crunchy Oreo base that adds a chocolatey foundation, to the creamy ice cream and salty peanuts that bring balance, finishing with decadent fudge sauce for irresistible richness.
- Oreo cookies (1 package, about 36): Crushed to form a sturdy, chocolatey crust that melts in your mouth.
- Melted butter (½ cup): Helps bind the Oreo crust so it stays perfectly crisp and easy to slice.
- Vanilla ice cream (½ gallon, softened): The creamy center that adds luscious, cool smoothness to every bite.
- Dry-roasted peanuts (1 cup): For that salty crunch that contrasts beautifully with the sweet layers.
- Hot-fudge topping (1 jar, 12 oz): Warm and gooey, the fudge ties everything together with deep chocolate flavor.
- Whipped topping: A light and airy garnish to add a touch of elegance and softness when serving.
How to Make Buster Bar Dessert: No-Bake Oreo Fudge Ice Cream Cake Recipe
Step 1: Prepare the Oreo Crust
Start by crushing the entire package of Oreo cookies until you have fine crumbs with a bit of texture left for crunch. Mix these crumbs with the melted butter thoroughly to create a hold-together crust. Press this mixture evenly into a 9 by 13-inch pan to form your sturdy base. Pop it into the freezer for about 15 minutes to set firmly.
Step 2: Add the Ice Cream Layer
Once the crust is set, take your softened vanilla ice cream and spread it evenly over the Oreo layer. Softening is key here — you want it smooth and spreadable but not melted. This creamy layer will be the heart of your Buster Bar Dessert, delivering that classic ice cream cake experience.
Step 3: Sprinkle the Peanuts
Generously sprinkle the dry-roasted peanuts evenly over the softened ice cream. These little nuggets of saltiness and crunch lift the entire dessert, balancing sweetness and keeping every bite interesting.
Step 4: Pour Warm Hot-Fudge Topping
Warm the fudge topping just until it’s pourable but not hot, then drizzle it over the peanuts in a generous layer. The warm fudge will settle over the peanuts creating those irresistible chocolate pockets you’ll adore.
Step 5: Freeze Until Firm
Put the assembled dessert back into the freezer, letting it chill for at least 4 hours — or until completely firm. This step ensures that the layers meld together into a sliceable, satisfyingly chilled treat.
Step 6: Garnish Before Serving
When you’re ready to serve, add a generous dollop or piping of whipped topping onto each slice for a light, creamy finish that complements the fudge and peanuts perfectly.
How to Serve Buster Bar Dessert: No-Bake Oreo Fudge Ice Cream Cake Recipe
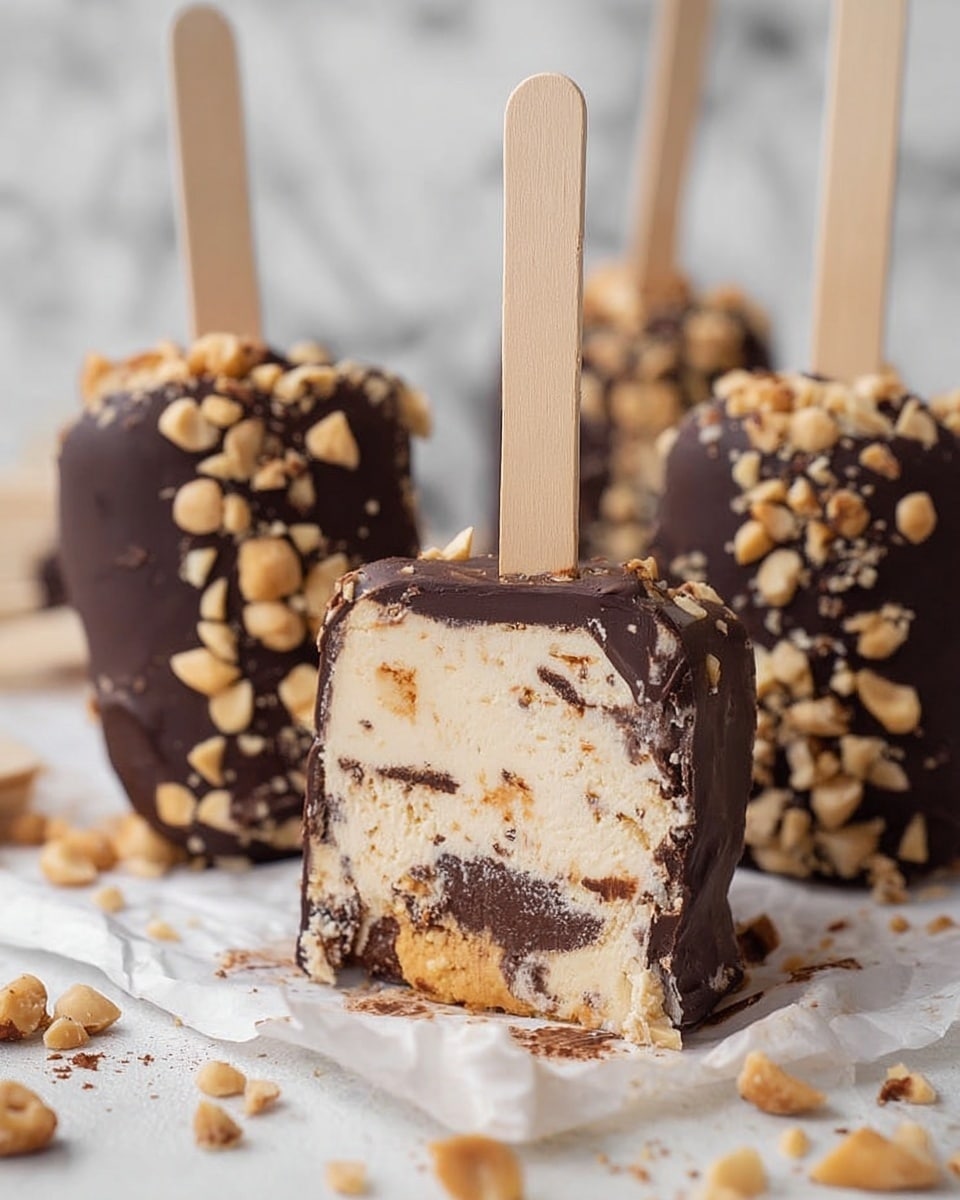
Garnishes
Enhance your slices with extra chopped peanuts, a drizzle of chocolate syrup, or a sprinkle of crushed Oreos on top of the whipped cream. Adding a fresh strawberry or a mint leaf can also bring a pop of color and freshness to your presentation.
Side Dishes
This dessert shines on its own but pairs beautifully with hot espresso or rich dark coffee. You might also serve it alongside fresh berries or a small scoop of salted caramel ice cream for contrast. For a more decadent occasion, a glass of tawny port or a sweet dessert wine works wonders.
Creative Ways to Present
Instead of a classic pan slice, try assembling individual servings in clear cups or jars to showcase the gorgeous layers. You can jazz it up with alternating peanut and fudge layers for a more complex look. For parties, use decorative paper liners or mini jars to create fun handheld portions.
Make Ahead and Storage
Storing Leftovers
Keep your leftover Buster Bar Dessert tightly covered with plastic wrap or stored in an airtight container in the freezer. This helps prevent ice crystals and freezer burn, keeping the cake just as tasty as when freshly made.
Freezing
This recipe is inherently freezer-friendly, so it’s perfect for making ahead. Just freeze until firm and then store wrapped well. It generally stays delicious for up to one week in the freezer — perfect for prepping in advance for gatherings or busy days.
Reheating
Since it’s an ice cream cake, reheating isn’t necessary — or recommended. Instead, let frozen slices rest at room temperature for 5 to 10 minutes before serving so they soften slightly for easy cutting and maximum creaminess.
FAQs
Can I use another type of cookie instead of Oreos?
Absolutely! While Oreos give the classic chocolatey base loved in the Buster Bar Dessert, you could experiment with graham crackers, chocolate chip cookies, or even gluten-free options, adjusting the butter amount slightly to get the right crust consistency.
Is there a way to make this dessert dairy-free or vegan?
Yes! Swap the vanilla ice cream for a dairy-free alternative such as coconut or almond milk-based ice cream. Use dairy-free fudge sauce and vegan butter to bind the crust. Make sure your peanuts and other toppings are free from cross-contamination.
How soft should the ice cream be before spreading?
It should be softened enough to spread easily without chunks or melting into a liquid. Aim to leave it out of the freezer for about 10-15 minutes or until you can smooth it gently with a spatula.
Can I prepare this without peanuts?
You can! The peanuts add wonderful saltiness and crunch, but feel free to substitute with chopped walnuts, pecans, or toasted coconut flakes if preferred or to accommodate allergies.
How do I get clean slices when serving?
Use a sharp knife dipped briefly in hot water and wiped dry before each cut. This technique helps you slice through the frozen dessert cleanly without cracking or crumbling.
Final Thoughts
This Buster Bar Dessert: No-Bake Oreo Fudge Ice Cream Cake Recipe quickly becomes a beloved classic once you experience how perfectly the crunchy, creamy, salty, and sweet components come together. It’s effortless to make, crowds will rave about it, and it’s the perfect ending to any meal or celebration. Don’t hesitate to dive in and make this irresistible frozen treat your happy place on a plate.
Print
Buster Bar Dessert: No-Bake Oreo Fudge Ice Cream Cake Recipe
- Total Time: 4 hrs 20 mins
- Yield: 12 servings
- Diet: Vegetarian
Description
Inspired by the Dairy Queen classic, this layered Buster Bar Dessert combines a crunchy Oreo cookie crust with creamy vanilla ice cream, toasted peanuts, and rich hot fudge for the ultimate frozen treat that’s easy to assemble and perfect for any occasion.
Ingredients
Crust
- 1 package Oreo cookies (about 36), crushed
- ½ cup melted butter
Filling and Toppings
- ½ gallon vanilla ice cream, softened
- 1 cup dry-roasted peanuts
- 1 jar (12 oz) hot-fudge topping
- Whipped topping, for garnish
Instructions
- Prepare the crust: Mix the crushed Oreo cookies with the melted butter until well combined. Press this mixture evenly into the bottom of a 9×13-inch pan to form the crust layer.
- Freeze crust: Place the pan in the freezer for 15 minutes to set the crust firmly.
- Add ice cream layer: Spread the softened vanilla ice cream evenly over the chilled Oreo crust, smoothing the surface with a spatula.
- Sprinkle peanuts: Evenly distribute the dry-roasted peanuts over the ice cream layer to add crunch and flavor.
- Apply fudge topping: Warm the hot fudge sauce slightly until pourable, then drizzle or pour it evenly over the peanuts layer.
- Freeze dessert: Return the assembled dessert to the freezer and freeze until firm, about 4 hours.
- Garnish and serve: Before serving, top the dessert with whipped topping as a garnish for added creaminess and presentation.
Notes
- Soften ice cream just enough to spread easily but do not let it melt to keep layers intact.
- This dessert keeps well frozen for up to 1 week when wrapped properly to avoid freezer burn.
- Prep Time: 20 mins
- Cook Time: 0 mins
- Category: Dessert
- Method: No-Cook
- Cuisine: American


