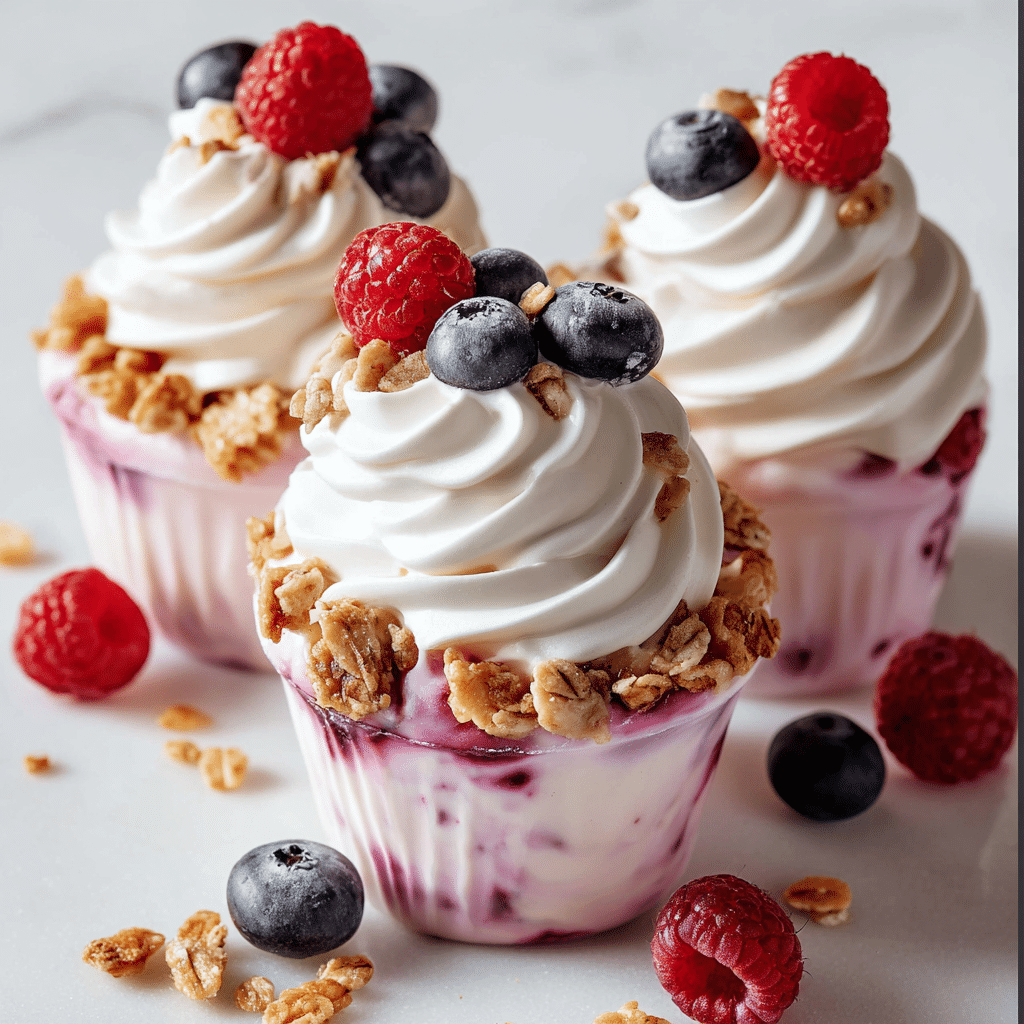
If there’s one treat that absolutely checks every box — creamy, crunchy, cool, customizable, and downright gorgeous — it’s Frozen Yogurt Granola Cups. Imagine a base of homemade chewy granola, a layer of luscious Greek yogurt, and a crown of fresh, vibrant berries, all frozen into a perfectly portioned cup. Whether you’re looking for an energizing breakfast, a wholesome snack, or a guilt-free dessert, this recipe brings sunshine to your kitchen and big smiles to everyone who takes a bite.
Ingredients You’ll Need
This recipe keeps it simple, but every ingredient plays its part in creating texture, flavor, and that irresistible look. You can easily swap or tweak things based on your cravings or what you have on hand, but here’s what makes each component shine:
- Oats: Provide that classic granola chew and structure for the base.
- Cinnamon: Adds a warm, comforting aroma that pairs so well with oats and yogurt.
- Almond butter: Acts as the glue for the granola, giving subtle nutty depth and healthy fats.
- Honey: Supplies natural sweetness and helps bind the granola mixture just right.
- Vanilla extract: Enhances flavor and adds a touch of sweetness without overpowering.
- Greek yogurt: The creamy, tangy layer that brings protein and silkiness; choose plain or flavored to suit your taste.
- Berries of choice: Bring a vibrant pop of color, tartness, and natural sweetness on top.
How to Make
Step 1: Prepare the Granola Base
Start by grabbing a mixing bowl and combine your oats, cinnamon, almond butter, honey, and vanilla extract. Stir and work the mixture until it becomes a sticky, cohesive dough. If you notice it’s a bit too crumbly, simply add a touch more almond butter or honey until you get a consistency that easily presses together. This is the magic foundation for your Frozen Yogurt Granola Cups.
Step 2: Form the Granola Cups
Line a standard muffin pan with muffin liners to make removing the cups a breeze later on. Drop a generous spoonful of the granola mixture into each liner. Press firmly with your fingers or the back of a spoon so the mixture forms an even, solid base. This step ensures the cups will hold together when you pop them out.
Step 3: Add the Yogurt Layer
Once your granola bases are in place, it’s time to spoon in the Greek yogurt. Feel free to use plain, vanilla, honey, or even fruit-flavored varieties, depending on your mood. Gently spread an even layer over each granola base and smooth the tops with the back of your spoon for that professional touch.
Step 4: Freeze and Set
Slide your muffin pan into the freezer and leave it for at least 4 hours. This important rest time allows the cups to firm up and hold their shape perfectly, so they’re easy to pop out and won’t fall apart once you bite into one. Patience will be rewarded!
Step 5: Serve and Enjoy
When you’re ready to indulge, remove the cups from the freezer and let them sit for just a few minutes so they’re easier to eat. Carefully peel back the liners, top with another sprinkle of berries if you’re feeling fancy, and enjoy the cool, creamy, crunchy bliss that is Frozen Yogurt Granola Cups!
How to Serve
Garnishes
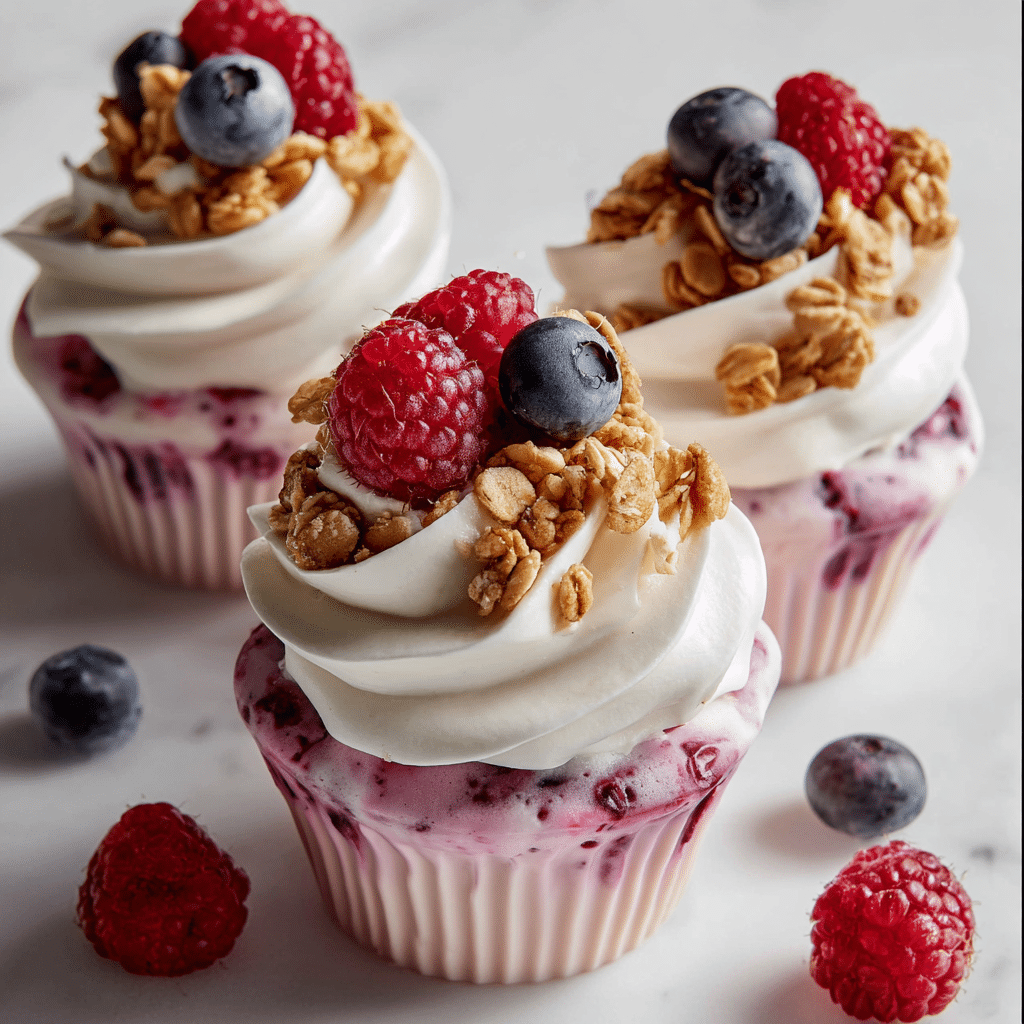
The possibilities for garnishing Frozen Yogurt Granola Cups are almost endless. Top with extra fresh berries, a drizzle of runny honey, a sprinkle of toasted coconut flakes, or even a few dark chocolate chips if you’re craving something a little more decadent. Each garnish adds a unique visual twist and another layer of flavor excitement.
Side Dishes
If you’re serving these as part of a brunch spread, pair Frozen Yogurt Granola Cups with a big fruit salad, fresh orange juice, or a platter of sliced melon for a refreshing balance. For afternoon snacks or desserts, you could add a few crisp wafer cookies, a handful of mixed nuts, or a cup of lightly sweetened herbal tea on the side.
Creative Ways to Present
Turn these into a show-stopping dessert board by arranging them on a rustic wooden platter, nestled among piles of extra berries and edible flowers. For parties, set up a DIY yogurt cup bar where guests can top their own Frozen Yogurt Granola Cups with seeds, dried fruits, or chocolate shavings. Mini cupcake liners create adorable bite-size portions for entertaining and kids’ snacks.
Make Ahead and Storage
Storing Leftovers
Keep any leftover Frozen Yogurt Granola Cups in an airtight container in the freezer for up to two weeks. They’re best enjoyed within the first week for peak freshness and the best crunch from the granola base, but they won’t go bad if left a bit longer.
Freezing
Frozen Yogurt Granola Cups are at their best when stored in the freezer, keeping their shape and creamy texture perfectly intact. Just layer parchment or wax paper between cups if you’re stacking them in a container, so they don’t stick together or pick up unwanted odors.
Reheating
Since these are meant to be enjoyed frozen, there’s no reheating involved! Simply let them sit at room temperature for a few minutes to soften before enjoying. If you like a slightly creamier consistency, five to ten minutes on the counter is perfect.
FAQs
Can I make Frozen Yogurt Granola Cups dairy-free?
Absolutely! Swap in coconut yogurt, almond milk yogurt, or any non-dairy yogurt you love. The cups will set just the same and taste just as delicious, making them perfect for anyone with dietary sensitivities.
What’s the best way to prevent sticky muffin liners?
If you want to be extra-sure the liners peel away easily, use nonstick or silicone muffin liners. You can even give paper liners a light spray with cooking oil before pressing in the granola base.
Can I use store-bought granola instead?
Yes, you can use your favorite store-bought granola as the base, but consider adding a spoonful of nut butter and a drizzle of honey to help everything stick together. This ensures the bottom holds its shape after freezing.
How do I sweeten the yogurt if it’s too tart?
If you’re using plain Greek yogurt and find it a bit tangy, simply stir in a spoonful of honey, maple syrup, or a sprinkle of coconut sugar before assembling your cups. Taste and adjust to your preferred level of sweetness.
Can kids help make Frozen Yogurt Granola Cups?
Definitely! This is a super kid-friendly project. Let little hands press granola into liners, spoon the yogurt on top, and decorate with their favorite fruit. It’s a fun, mess-minimal way to get kids excited about healthy snacks.
Final Thoughts
These Frozen Yogurt Granola Cups bring all the best parts of breakfast and dessert together — and they’re just as fun to make as they are to eat. Give them a try and make them your own with your favorite yogurt and toppings. There’s really nothing like that first cool, creamy bite with a bit of crunch and a burst of fresh berry on top!
Print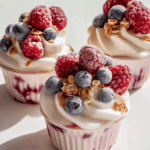
Frozen Yogurt Granola Cups Recipe
- Total Time: 4 hours 15 minutes
- Yield: 6-8
- Diet: Vegetarian
Description
Indulge in these Frozen Yogurt Granola Cups that offer a delightful mix of creamy Greek yogurt, crunchy homemade granola, and fresh berries. Perfect for a quick snack or dessert, these cups are easy to make and require no baking. Freeze, grab, and enjoy the creamy, crunchy goodness!
Ingredients
For the Granola Base:
- 3/4 cup oats
- 1/2 tsp cinnamon
- 1/4 cup almond butter
- 3–4 tbsp honey (adjust for sweetness)
- 1 tsp vanilla extract
For the Yogurt Layer:
- 1 1/2 cups Greek yogurt (plain or flavored; see note for tips)
For the Topping:
- Berries of choice (strawberries, blueberries, raspberries, etc.)
Instructions
- Step 1: Prepare the Granola Base In a bowl, mix oats, cinnamon, almond butter, honey, and vanilla. Adjust consistency with more almond butter or honey if needed.
- Step 2: Form the Granola Cups Line muffin pan with liners. Add granola mixture, press firmly to create a base.
- Step 3: Add the Yogurt Layer Spoon Greek yogurt into each cup.
- Step 4: Freeze and Set Freeze cups for at least 4 hours until firm.
- Step 5: Serve and Enjoy Thaw slightly before serving.
Notes
- Yogurt Options: Use plain or flavored Greek yogurt. Adjust sweetness with honey, maple syrup, or stevia.
- Sweeteners: Customize sweetness based on preference.
- Granola Variations: Experiment with different nut butters or seeds.
- Toppings: Explore various fruit toppings or add a touch of chocolate or coconut for extra flair.
- Prep Time: 15 minutes
- Cook Time: 4 hours
- Category: Dessert
- Method: Freezing
- Cuisine: American
Nutrition
- Serving Size: 1 cup
- Calories: Approx. 200
- Sugar: Varies based on yogurt and toppings
- Sodium: Varies based on ingredients
- Fat: Approx. 8g
- Saturated Fat: Approx. 2g
- Unsaturated Fat: Approx. 6g
- Trans Fat: 0g
- Carbohydrates: Approx. 25g
- Fiber: Approx. 3g
- Protein: Approx. 10g
- Cholesterol: Approx. 5mg

