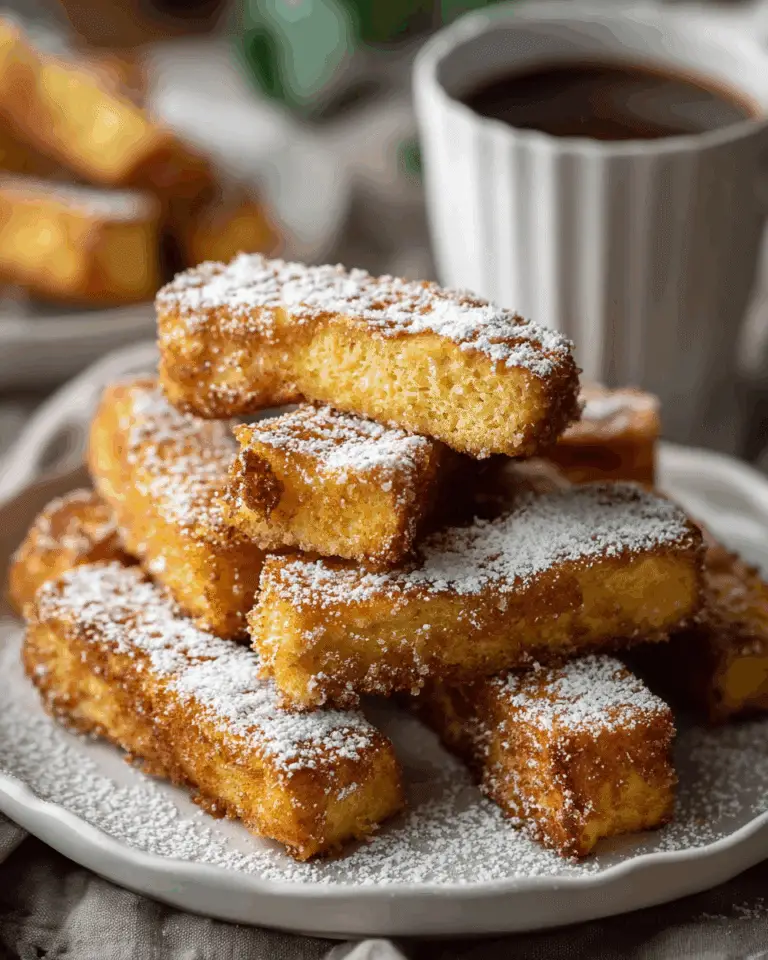
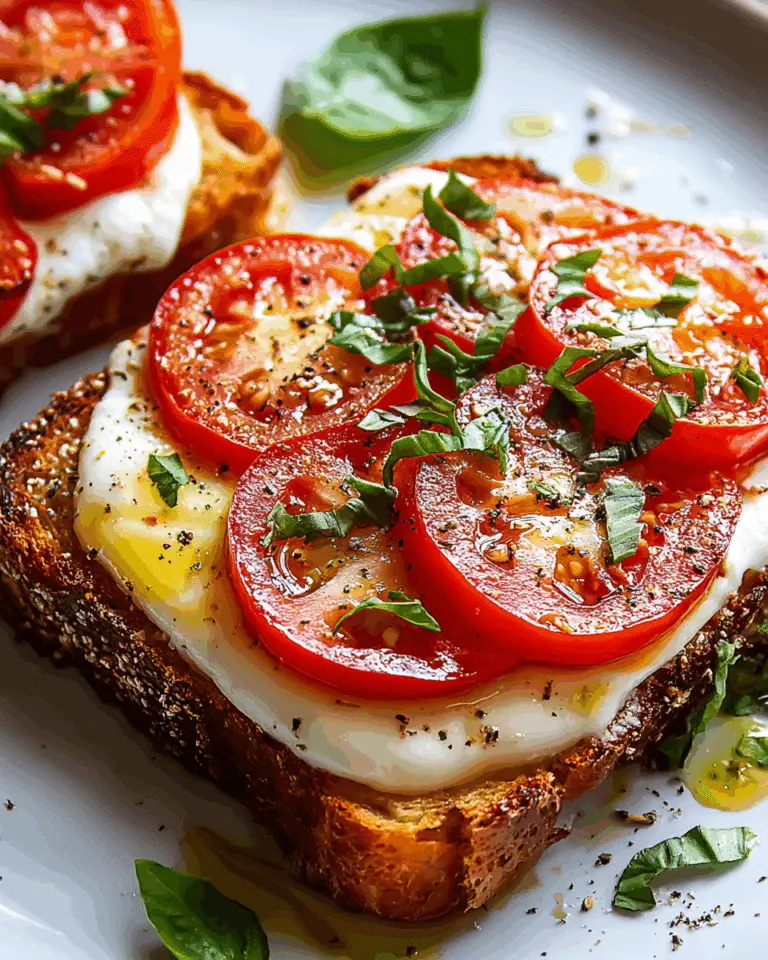
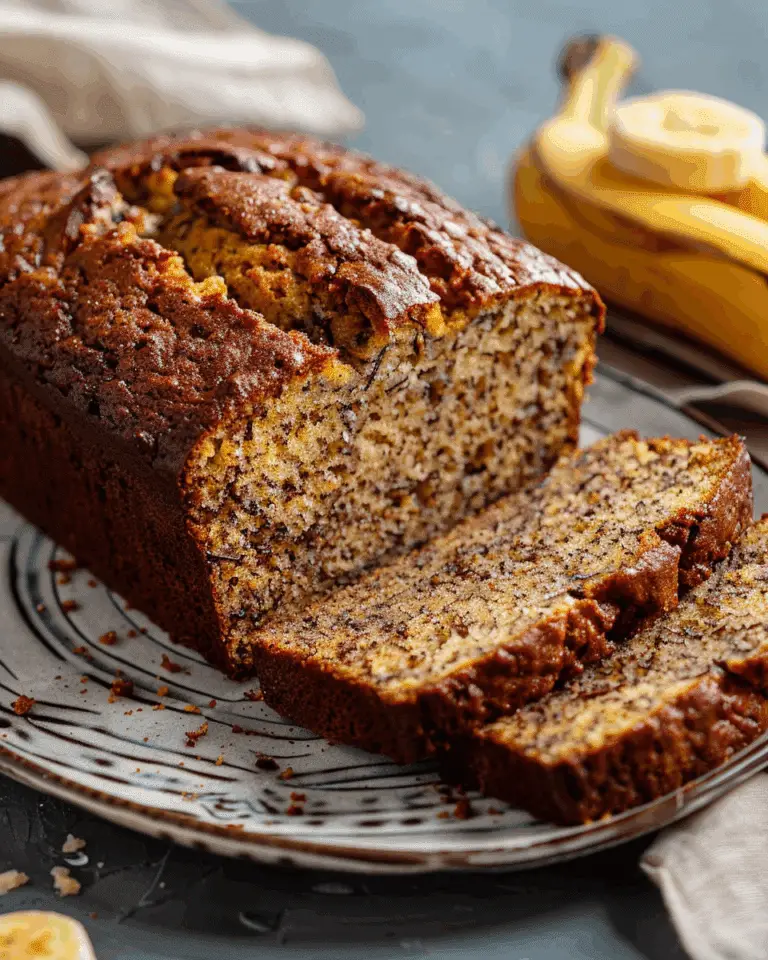
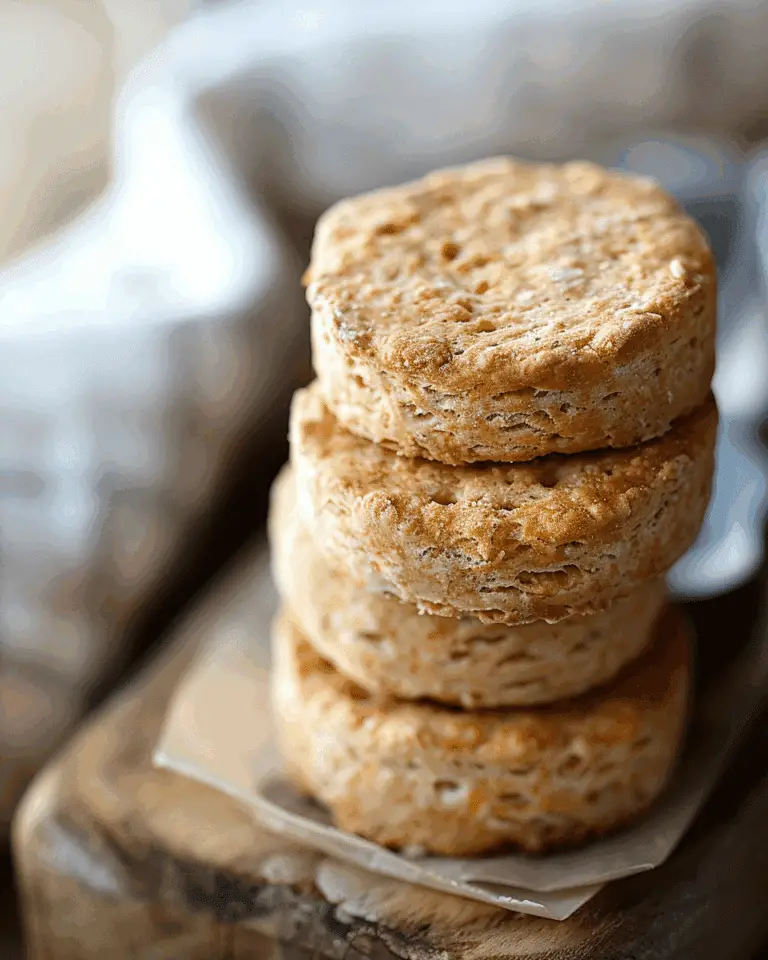
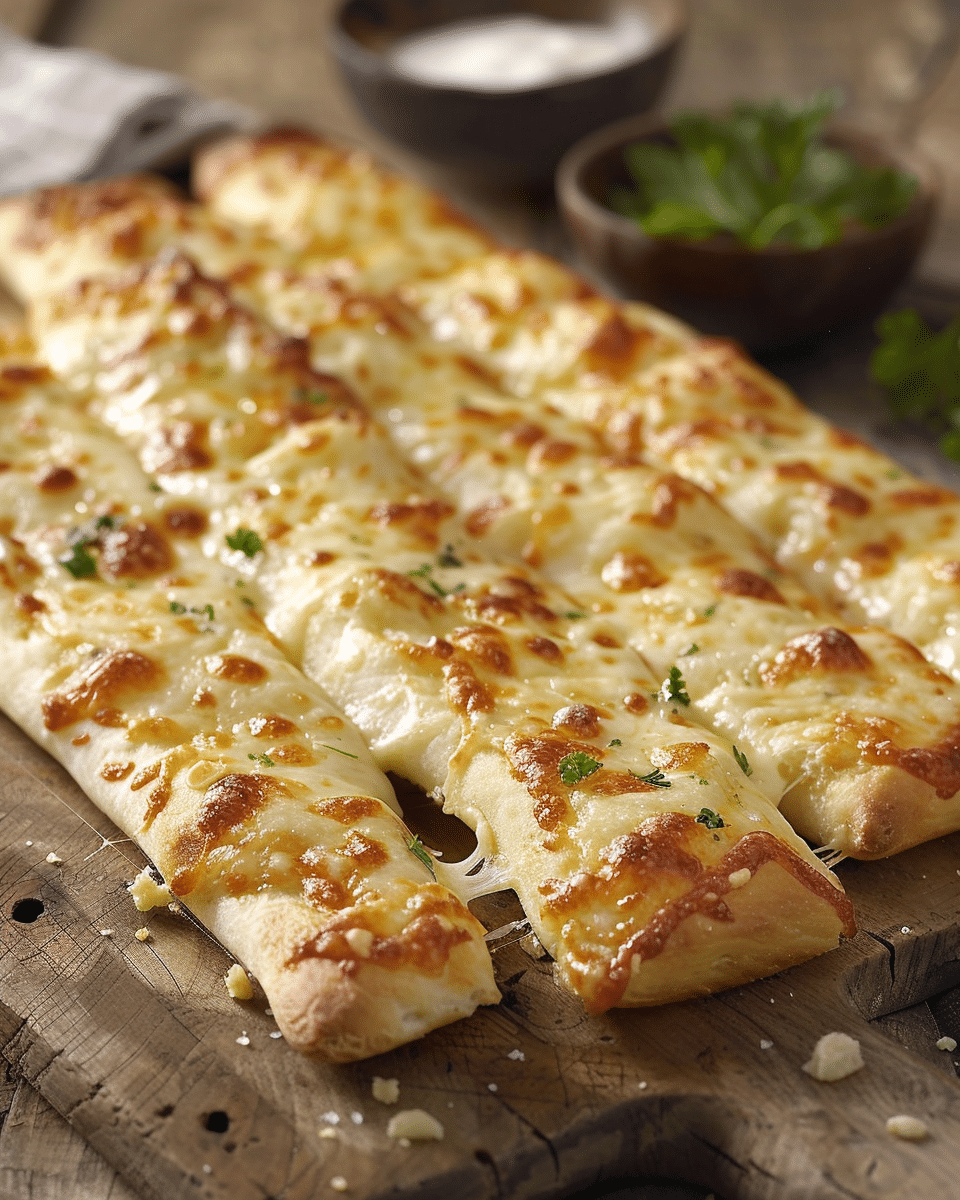
Homemade Cheesy Breadsticks are soft, warm, and buttery with a golden, cheesy topping that makes them irresistible. These breadsticks are easy to make, perfect as a side dish or snack, and are sure to be a hit at any meal. Paired with marinara sauce or enjoyed on their own, they’re cheesy, garlicky, and absolutely delicious!
Why You’ll Love This Recipe
These cheesy breadsticks are a comforting treat with a soft, fluffy texture on the inside and a golden, cheesy crust on the outside. The garlic butter and melted cheese blend together beautifully, making every bite perfect. They’re easy to whip up with ingredients you likely already have in your pantry, and they’re customizable with your favorite cheese or seasonings. They’re perfect for pizza nights, parties, or a delicious side dish to pasta.
Ingredients
For the Dough:
- 1 cup warm water
- 2 1/4 teaspoons active dry yeast (1 packet)
- 1 tablespoon sugar
- 2 1/2 cups all-purpose flour
- 1 teaspoon salt
- 1 tablespoon olive oil
For the Topping:
- 1/4 cup unsalted butter, melted
- 2 teaspoons garlic powder
- 1/2 teaspoon dried oregano
- 1/2 teaspoon dried basil
- 1 1/2 cups shredded mozzarella cheese (or more for extra cheese)
- 1/4 cup grated Parmesan cheese (optional, for extra flavor)
For Dipping Sauce (Optional):
- 1 cup marinara sauce or pizza sauce
(Tip: You’ll find the full list of ingredients and measurements in the recipe card below.)
Directions
- Prepare the Dough: In a small bowl, combine warm water, sugar, and yeast. Let it sit for 5–10 minutes, or until it becomes frothy and bubbly.
- Make the Dough: In a large mixing bowl, combine flour and salt. Add the yeast mixture and olive oil. Stir until a dough forms.
- Knead the Dough: Turn the dough onto a floured surface and knead for about 5 minutes, until smooth and elastic. Add more flour if necessary.
- Let the Dough Rise: Lightly oil the bowl, place the dough inside, and cover with a damp cloth. Let it rise in a warm place for 1 hour, or until it doubles in size.
- Preheat the Oven: Preheat your oven to 400°F (200°C).
- Shape the Breadsticks: Once the dough has risen, punch it down and roll it out into a rectangle (about 12×8 inches) on a lightly floured surface. Transfer the dough to a baking sheet lined with parchment paper or lightly greased.
- Add the Garlic Butter Topping: In a small bowl, combine melted butter, garlic powder, oregano, and basil. Brush this mixture generously over the rolled-out dough.
- Add the Cheese: Sprinkle the mozzarella cheese and Parmesan cheese (if using) evenly over the top of the dough.
- Bake the Breadsticks: Bake in the preheated oven for 12–15 minutes, or until the edges are golden and the cheese is melted and bubbly.
- Slice and Serve: Once baked, remove the breadsticks from the oven and let them cool slightly. Use a pizza cutter or sharp knife to slice them into strips.
- Serve: Serve warm with marinara sauce or pizza sauce for dipping.
Servings and Timing
- Servings: 4–6
- Prep Time: 10 minutes
- Rising Time: 1 hour
- Cook Time: 15 minutes
- Total Time: 1 hour 25 minutes
Variations
- Cheesy Herb Breadsticks: Add fresh or dried herbs like rosemary, thyme, or parsley to the garlic butter for extra flavor.
- Spicy Breadsticks: Sprinkle some crushed red pepper flakes or hot sauce over the cheese before baking for a spicy kick.
- Cheddar Cheese Breadsticks: Use sharp cheddar cheese in place of or in addition to mozzarella for a more intense flavor.
- Stuffed Breadsticks: Add your favorite fillings, like pepperoni, cooked sausage, or sautéed spinach, to the dough before baking.
- Gluten-Free Option: Use a gluten-free flour blend to make a gluten-free version of these cheesy breadsticks.
Storage/Reheating
- Storage: Store leftover breadsticks in an airtight container at room temperature for up to 2 days.
- Reheating: Reheat in the oven at 350°F (175°C) for about 5–7 minutes to restore their crispy texture. You can also microwave them for about 10–15 seconds if you prefer a softer texture.
FAQs
1. Can I use store-bought pizza dough?
Yes, you can use store-bought pizza dough to save time. Just roll it out and follow the same steps for topping and baking.
2. Can I freeze the dough?
Yes, you can freeze the dough after it rises. Wrap it tightly in plastic wrap and foil, and freeze for up to 2 months. Thaw in the fridge overnight before shaping and baking.
3. How do I prevent the breadsticks from being soggy?
To prevent sogginess, make sure the dough is rolled out evenly and baked until golden and crispy. You can also bake the breadsticks a few extra minutes to make them crispier.
4. Can I make these breadsticks ahead of time?
You can prepare the dough and let it rise the night before, then shape and bake the breadsticks the next day. Alternatively, bake them ahead of time and reheat when needed.
5. How can I make these breadsticks extra cheesy?
For extra cheesy breadsticks, sprinkle additional cheese on top before baking, or stuff some cheese inside the dough before rolling it out.
6. Can I use a different type of cheese?
Absolutely! You can substitute mozzarella with provolone, gouda, or parmesan for different flavors.
7. Can I add more toppings to the breadsticks?
Yes! Feel free to add any toppings you like, such as cooked beef, sautéed onions, or even fresh tomatoes.
8. Can I make these breadsticks without cheese?
Yes, you can skip the cheese and still enjoy delicious garlic and herb-flavored breadsticks. You can also brush them with garlic butter and sprinkle with herbs for flavor.
9. Can I make these breadsticks vegan?
Yes, to make them vegan, use dairy-free cheese and plant-based butter in place of the regular ingredients. You can also skip the cheese and just enjoy the garlic and herb flavor.
10. How do I make the breadsticks crispier?
For a crispier texture, brush the dough with butter and bake for an additional 2–3 minutes or use a pizza stone for even heat distribution.
Conclusion
Homemade Cheesy Breadsticks are the ultimate comfort food, with their golden, cheesy crust and soft, flavorful interior. Whether you’re serving them as a side dish with pizza or enjoying them as a snack, they’re always a hit. With simple ingredients and easy steps, you can create this delicious treat in no time, and customize it to your taste!
Print
Homemade Cheesy Breadsticks
- Total Time: 1 hour 25 minutes
- Yield: 4–6 servings
- Diet: Vegetarian
Description
Homemade Cheesy Breadsticks are soft, buttery, and topped with a golden, cheesy crust. Perfect for pizza night or as a snack, these breadsticks are easy to make and customizable with your favorite cheese or seasonings. Serve with marinara sauce or enjoy on their own!
Ingredients
- 2 ripe bananas (preferably not overripe)
- 1 tbsp cinnamon
- 2 tbsp sugar (you can adjust to your preference)
- 1 tbsp lemon juice (optional, to prevent browning)
- A pinch of salt
Instructions
-
Prep the Bananas:
-
Peel the bananas and slice them thinly (about 1/8 inch thick). Try to keep the slices uniform so they cook evenly.
-
Optionally, toss the banana slices with lemon juice to prevent browning and add a slight tang to the flavor.
-
-
Make the Cinnamon Sugar Mixture:
-
In a small bowl, mix together the cinnamon, sugar, and a pinch of salt.
-
-
Coat the Banana Slices:
-
Place the banana slices in a bowl and sprinkle them with the cinnamon-sugar mixture. Toss gently until all the slices are evenly coated.
-
-
Preheat the Air Fryer:
-
Preheat your air fryer to 350°F (175°C) for about 2-3 minutes.
-
-
Cook the Banana Chips:
-
Place the banana slices in a single layer in the air fryer basket. Don’t overcrowd them—if necessary, work in batches.
-
Air fry for about 10-12 minutes, checking them halfway through and flipping them for even crispiness.
-
Keep a close eye on them as they can burn quickly. Once they’re golden and crispy, remove them from the air fryer.
-
-
Cool and Serve:
- Let the banana chips cool for a few minutes (they’ll crisp up more as they cool). Then, enjoy them as a healthy snack or with a dip!
Notes
For a cheesy herb flavor, add fresh or dried rosemary, thyme, or parsley to the garlic butter.,For a spicy twist, sprinkle some red pepper flakes over the cheese before baking.
- Prep Time: 10 minutes
- Cook Time: 15 minutes
- Category: Side Dish
- Method: Baking
- Cuisine: Italian
Nutrition
- Serving Size: 1 breadstick
- Calories: 200
- Sugar: 2g
- Sodium: 300mg
- Fat: 10g
- Saturated Fat: 6g
- Unsaturated Fat: 3g
- Trans Fat: 0g
- Carbohydrates: 22g
- Fiber: 1g
- Protein: 6g
- Cholesterol: 30mg

